Getting started
Your first login: the setup wizard
Before you start
The wizard only appears for people with the Admin role, because it shapes settings for your whole organisation. Colleagues you invite never see it.
Open the wizard
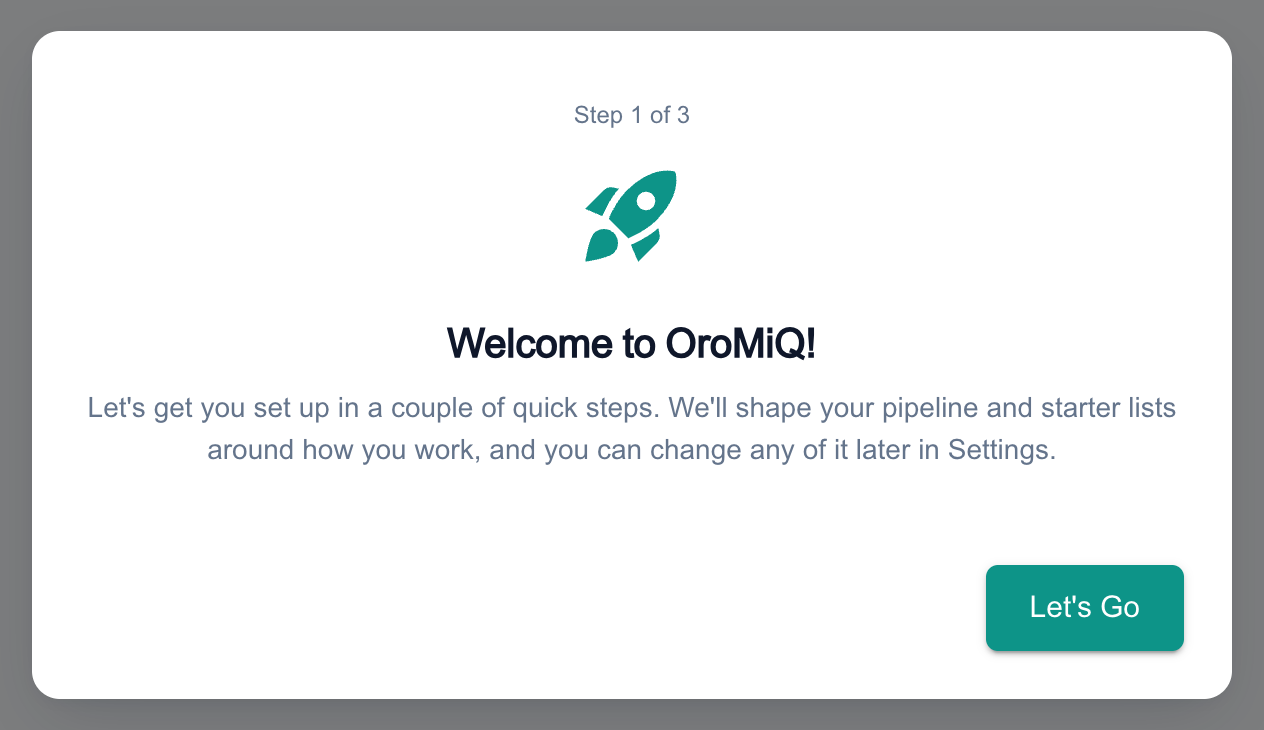
After signup, OroMiQ opens on your workspace and shows the Welcome to OroMiQ! dialog. Click Let’s Go to begin. A counter at the top shows which step you are on.
Note
Choose your industry
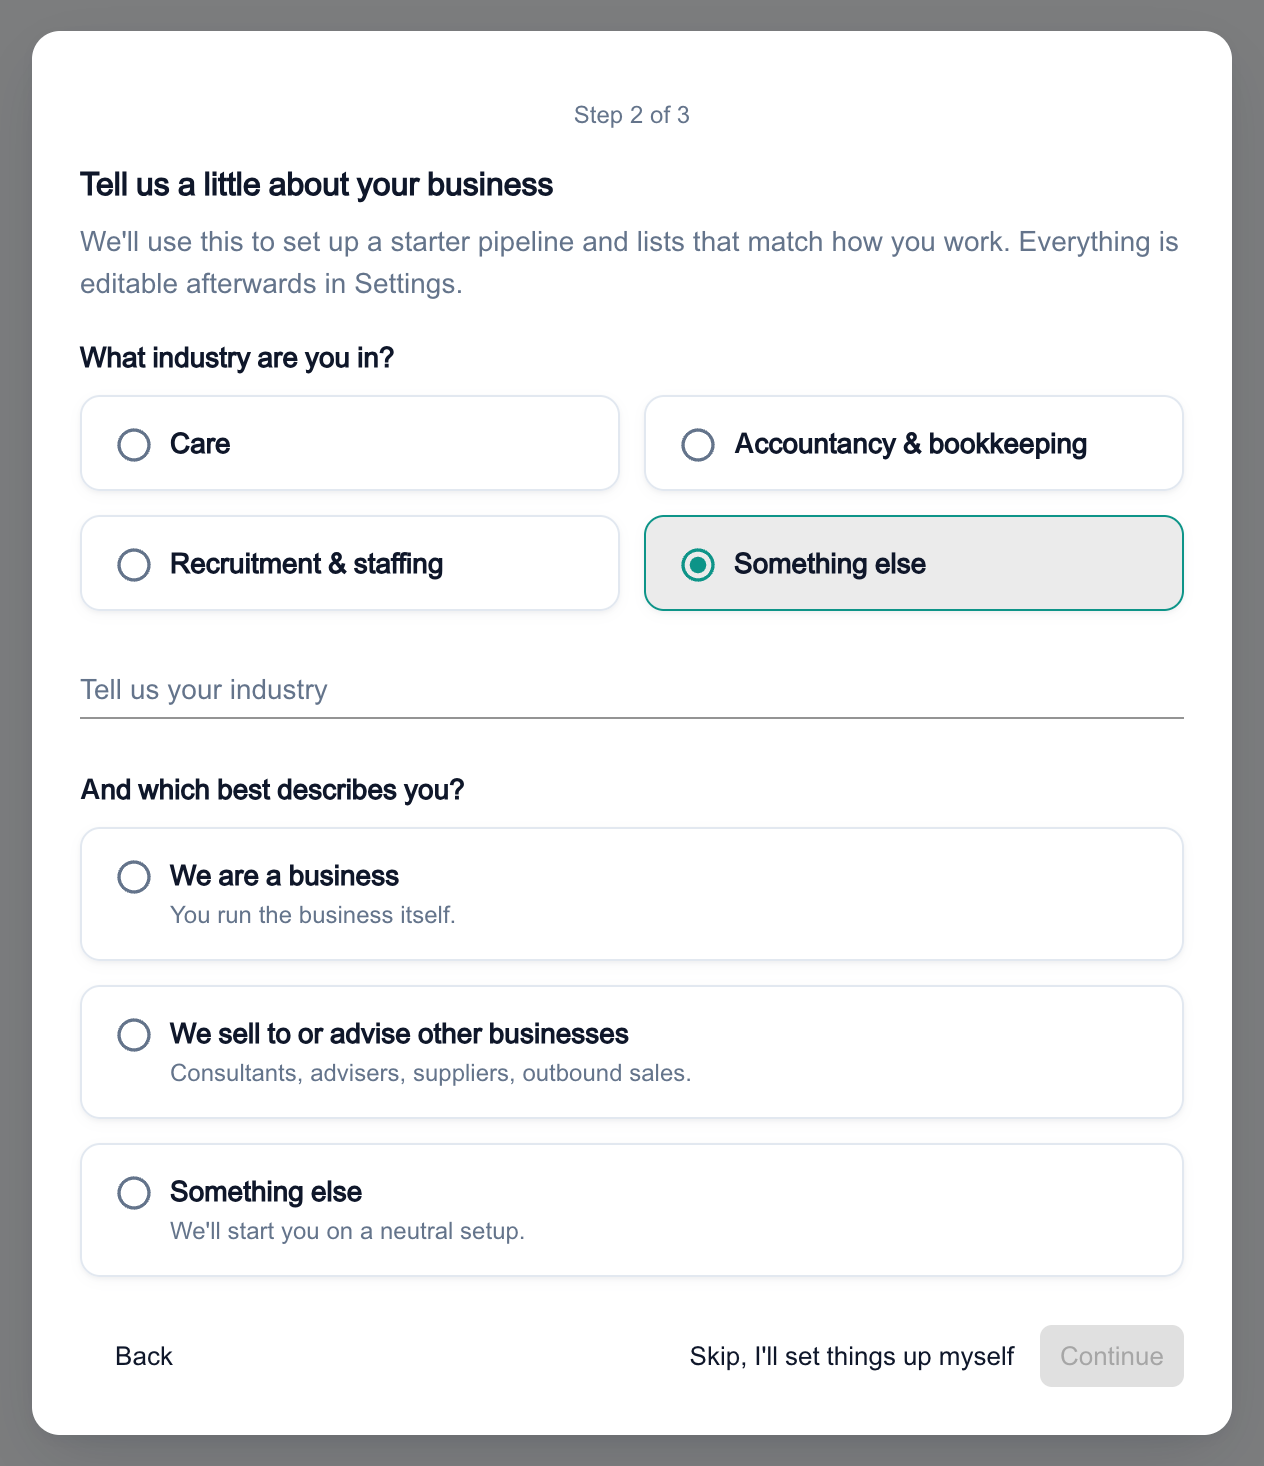
Under What industry are you in?, pick one of Care, Accountancy & bookkeeping, Recruitment & staffing or Something else. If you choose Something else, you can type your industry in Tell us your industry. That box is optional.
Say what best describes you
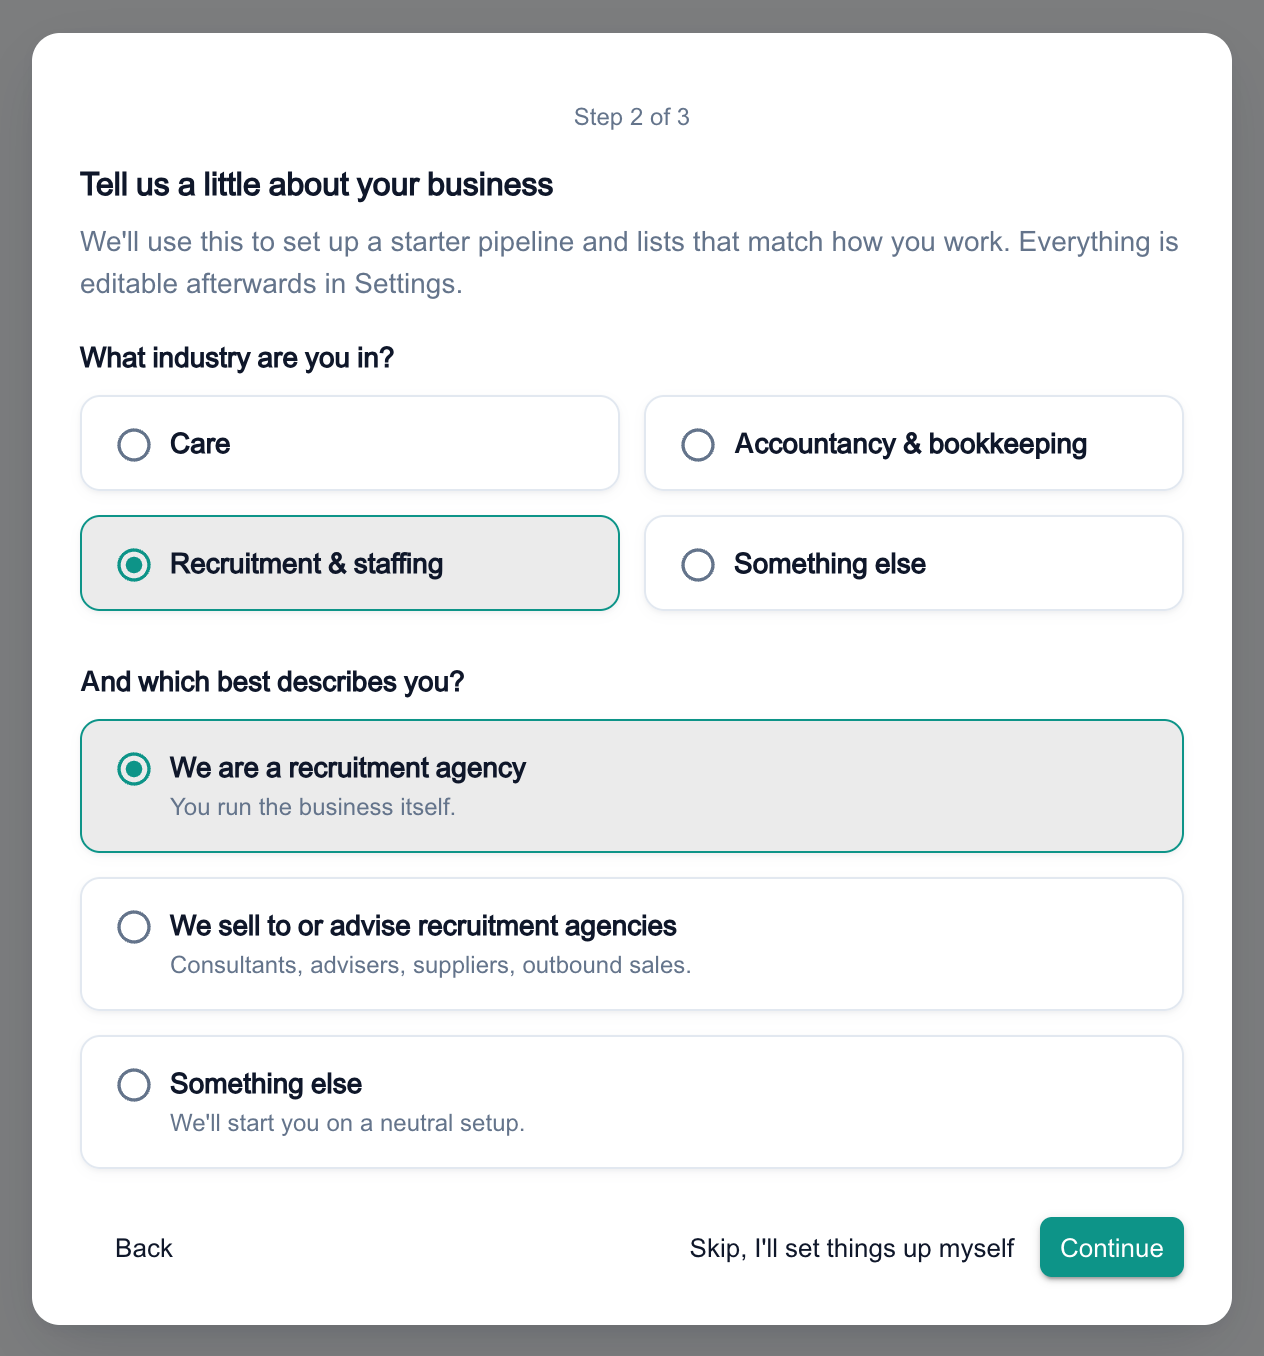
A second question appears: And which best describes you? Choose whether you run a business in that industry, sell to or advise businesses in it, or Something else. The wording follows the industry you picked, for example We are a recruitment agency. Then click Continue.
Your answers set up starter data that you can edit or delete at any time:
- Accountancy practice: a Client Intake pipeline.
- Recruitment agency: a Clients pipeline.
- Care provider: an Enquiries pipeline, account types for commissioners, referrers, suppliers, competitors and group head offices, and four starter document folders.
- Selling to or advising any industry: a Sales Pipeline built for outbound selling. Businesses selling into care also get starter product categories.
- Something else: nothing extra. You keep the standard starter setup.
Note
Add a field pack (optional)
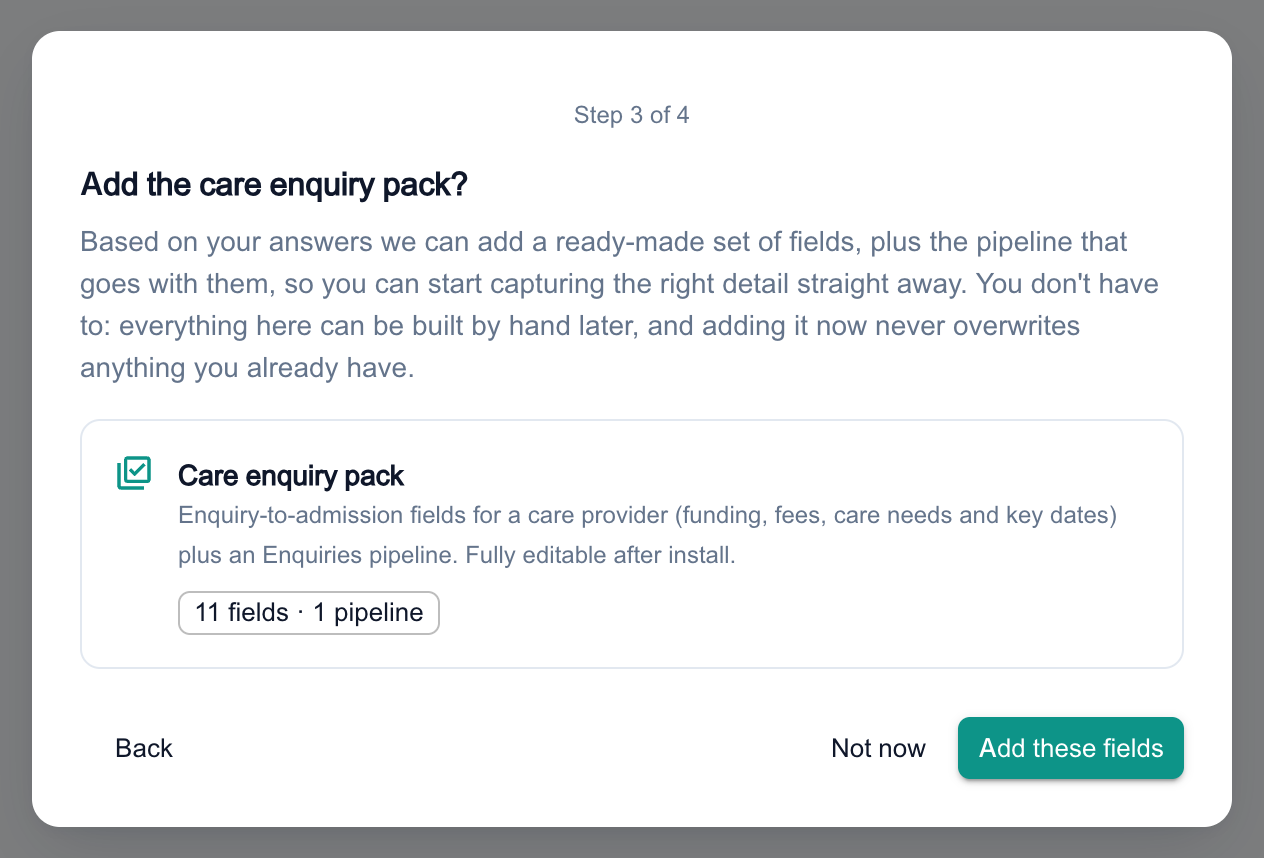
Some answers come with a suggested field pack: a ready-made set of custom fields, plus the pipeline that goes with them. If one is suggested, the wizard shows it next. Click Add these fields to install it, then Continue. Click Not now to leave it out.
Tip
Finish, or skip
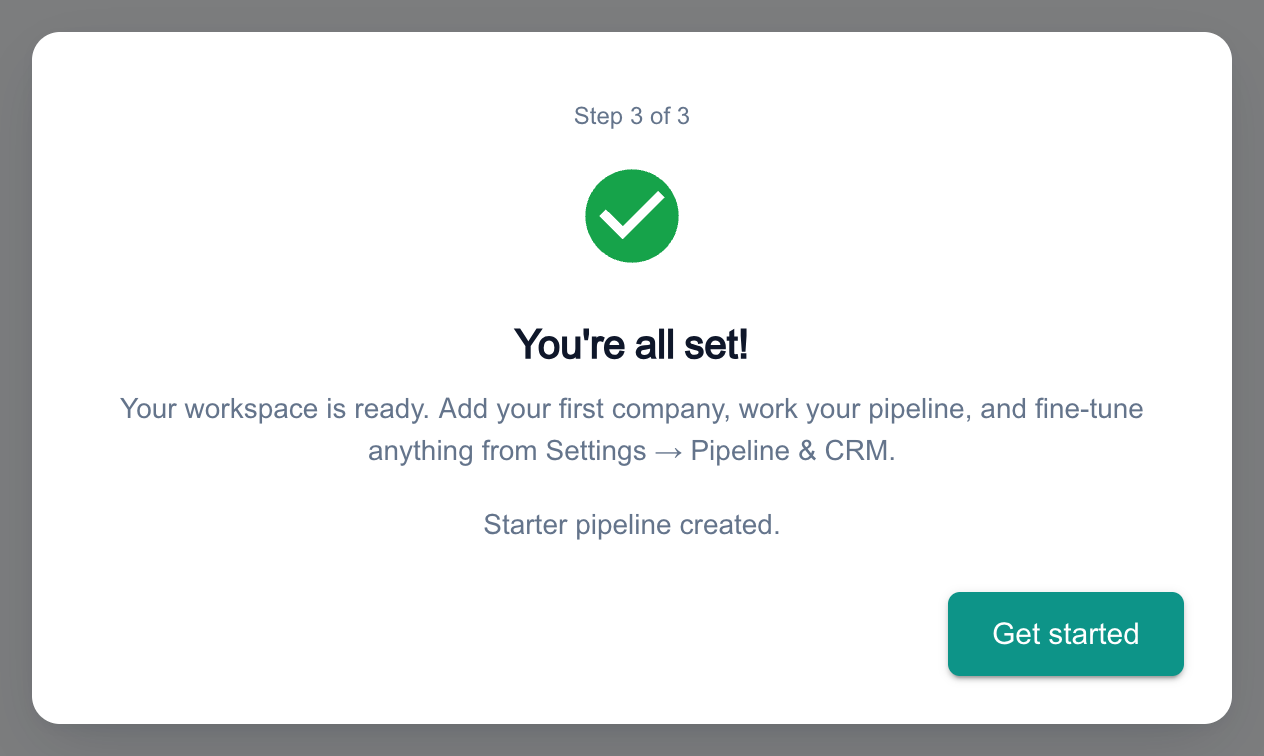
The last screen, You’re all set!, lists what was created for you. Click Get started to close the wizard and begin working.
Prefer to set things up by hand? On the industry step, click Skip, I’ll set things up myself. Nothing is saved from the wizard and you keep the standard starter setup.
Note
Change your setup later
Once you click Get started, the wizard does not open again, but everything it created is ordinary CRM data. In the sidebar, open Settings then Pipeline & CRM to edit your Pipelines, Account types and Product Categories. Anyone with the Admin or Manager role can change them there. Starter folders live in Documents, where you can rename or delete them.
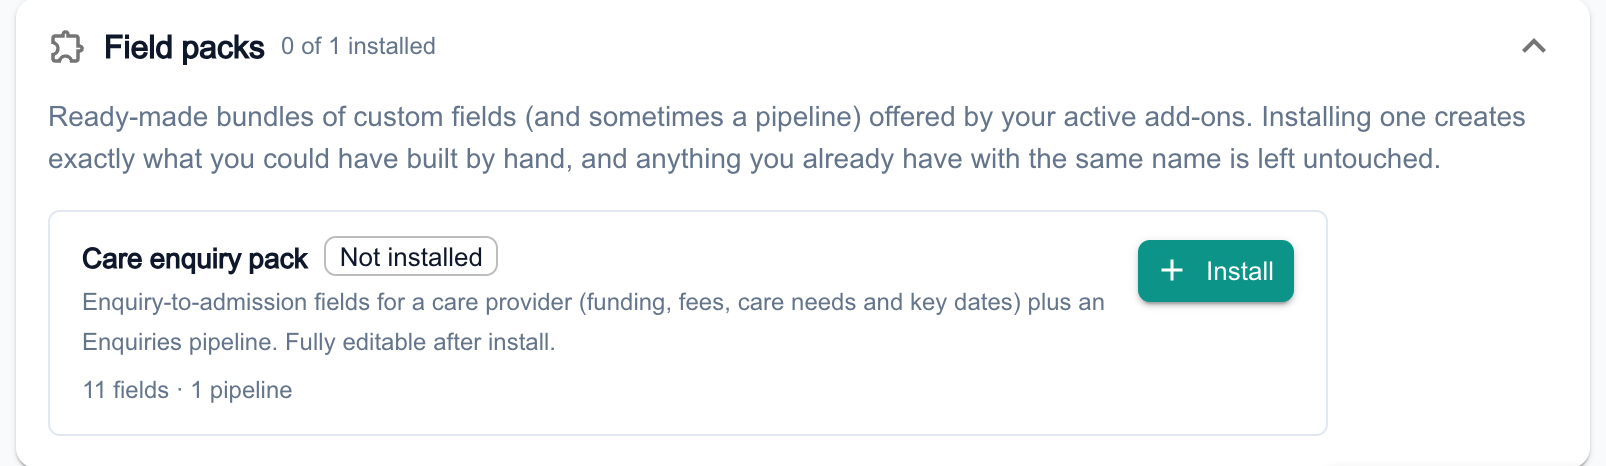
To add or remove a field pack, open the Field packs section on the same page and click Install or Remove. The section only appears when a pack is on offer to you.
Tip
What next
Cannot find what you need? Browse the Help Centre or submit a support ticket.