Getting started
Build your first pipeline
Open your pipeline
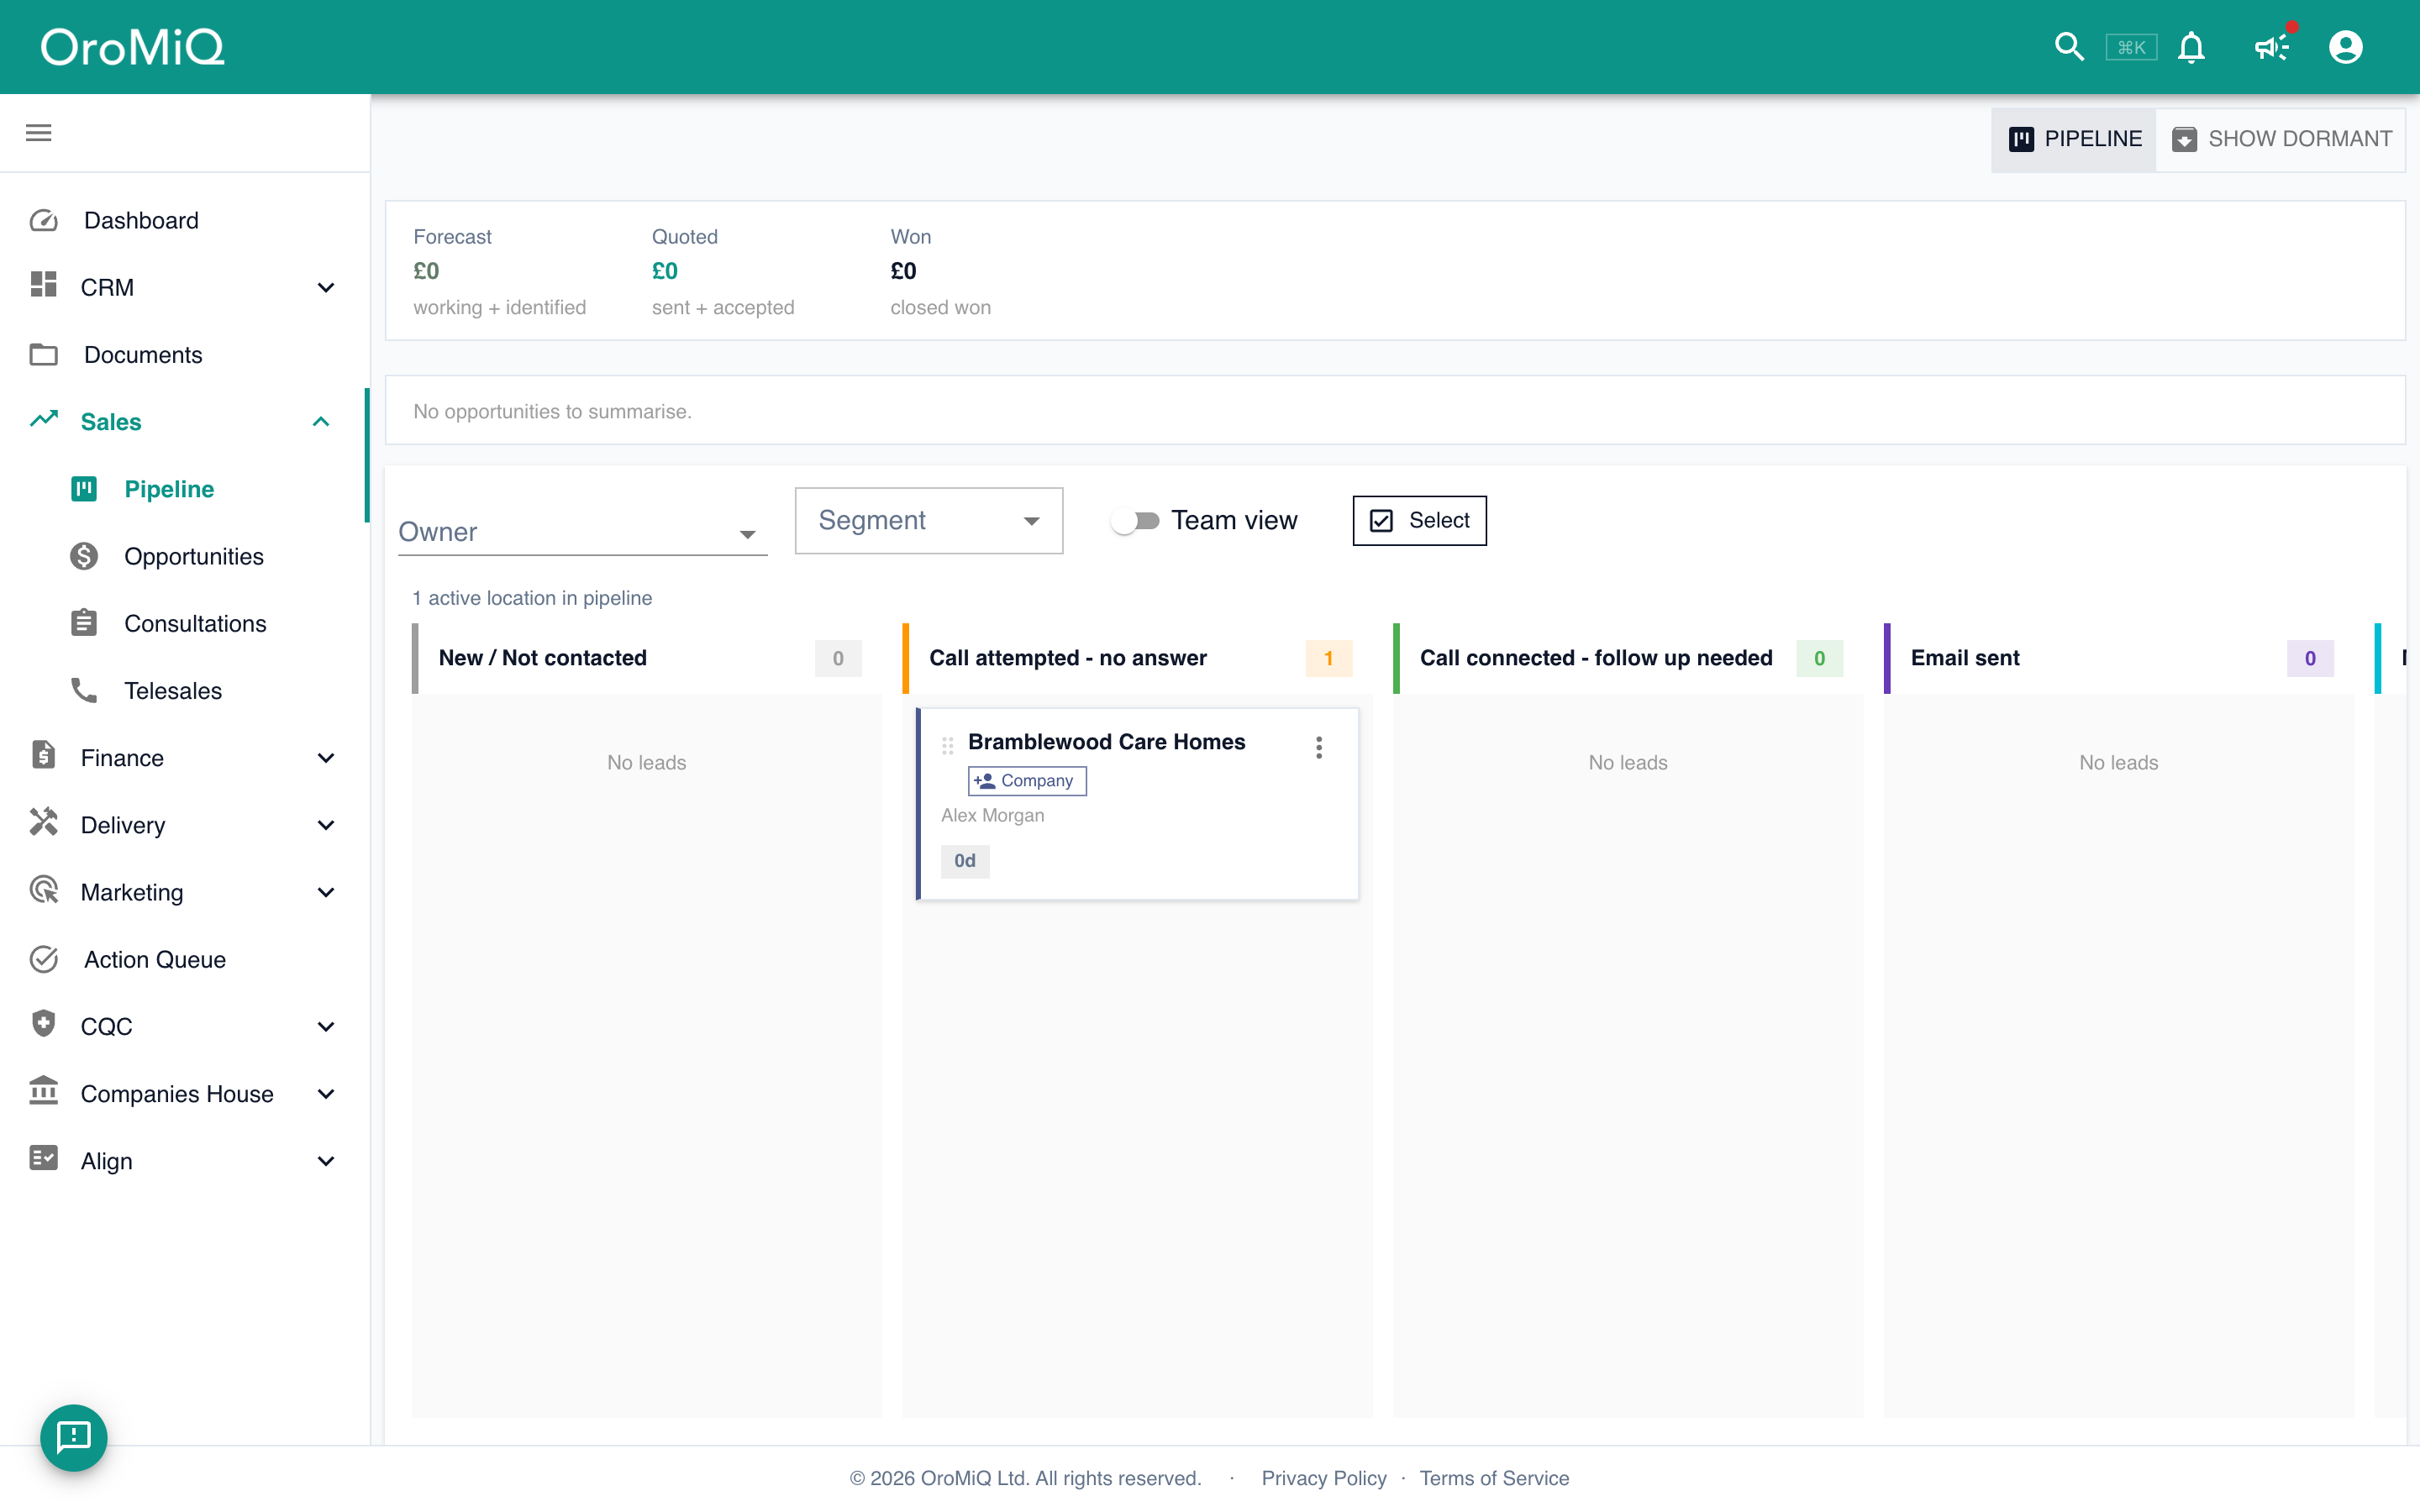
In the sidebar, open Sales then Pipeline. Each column is a stage, and each card is a company or a person moving through it. Click a card to open its deal summary.
The Forecast, Quoted and Won totals add up the opportunities on the pipeline you are viewing. Use Show dormant to see companies with no open opportunities and no recent activity.
Note
Put a company on a stage
Open a company from Companies, then find the pipeline chip in its top bar. For a new company it reads Not on a pipeline.
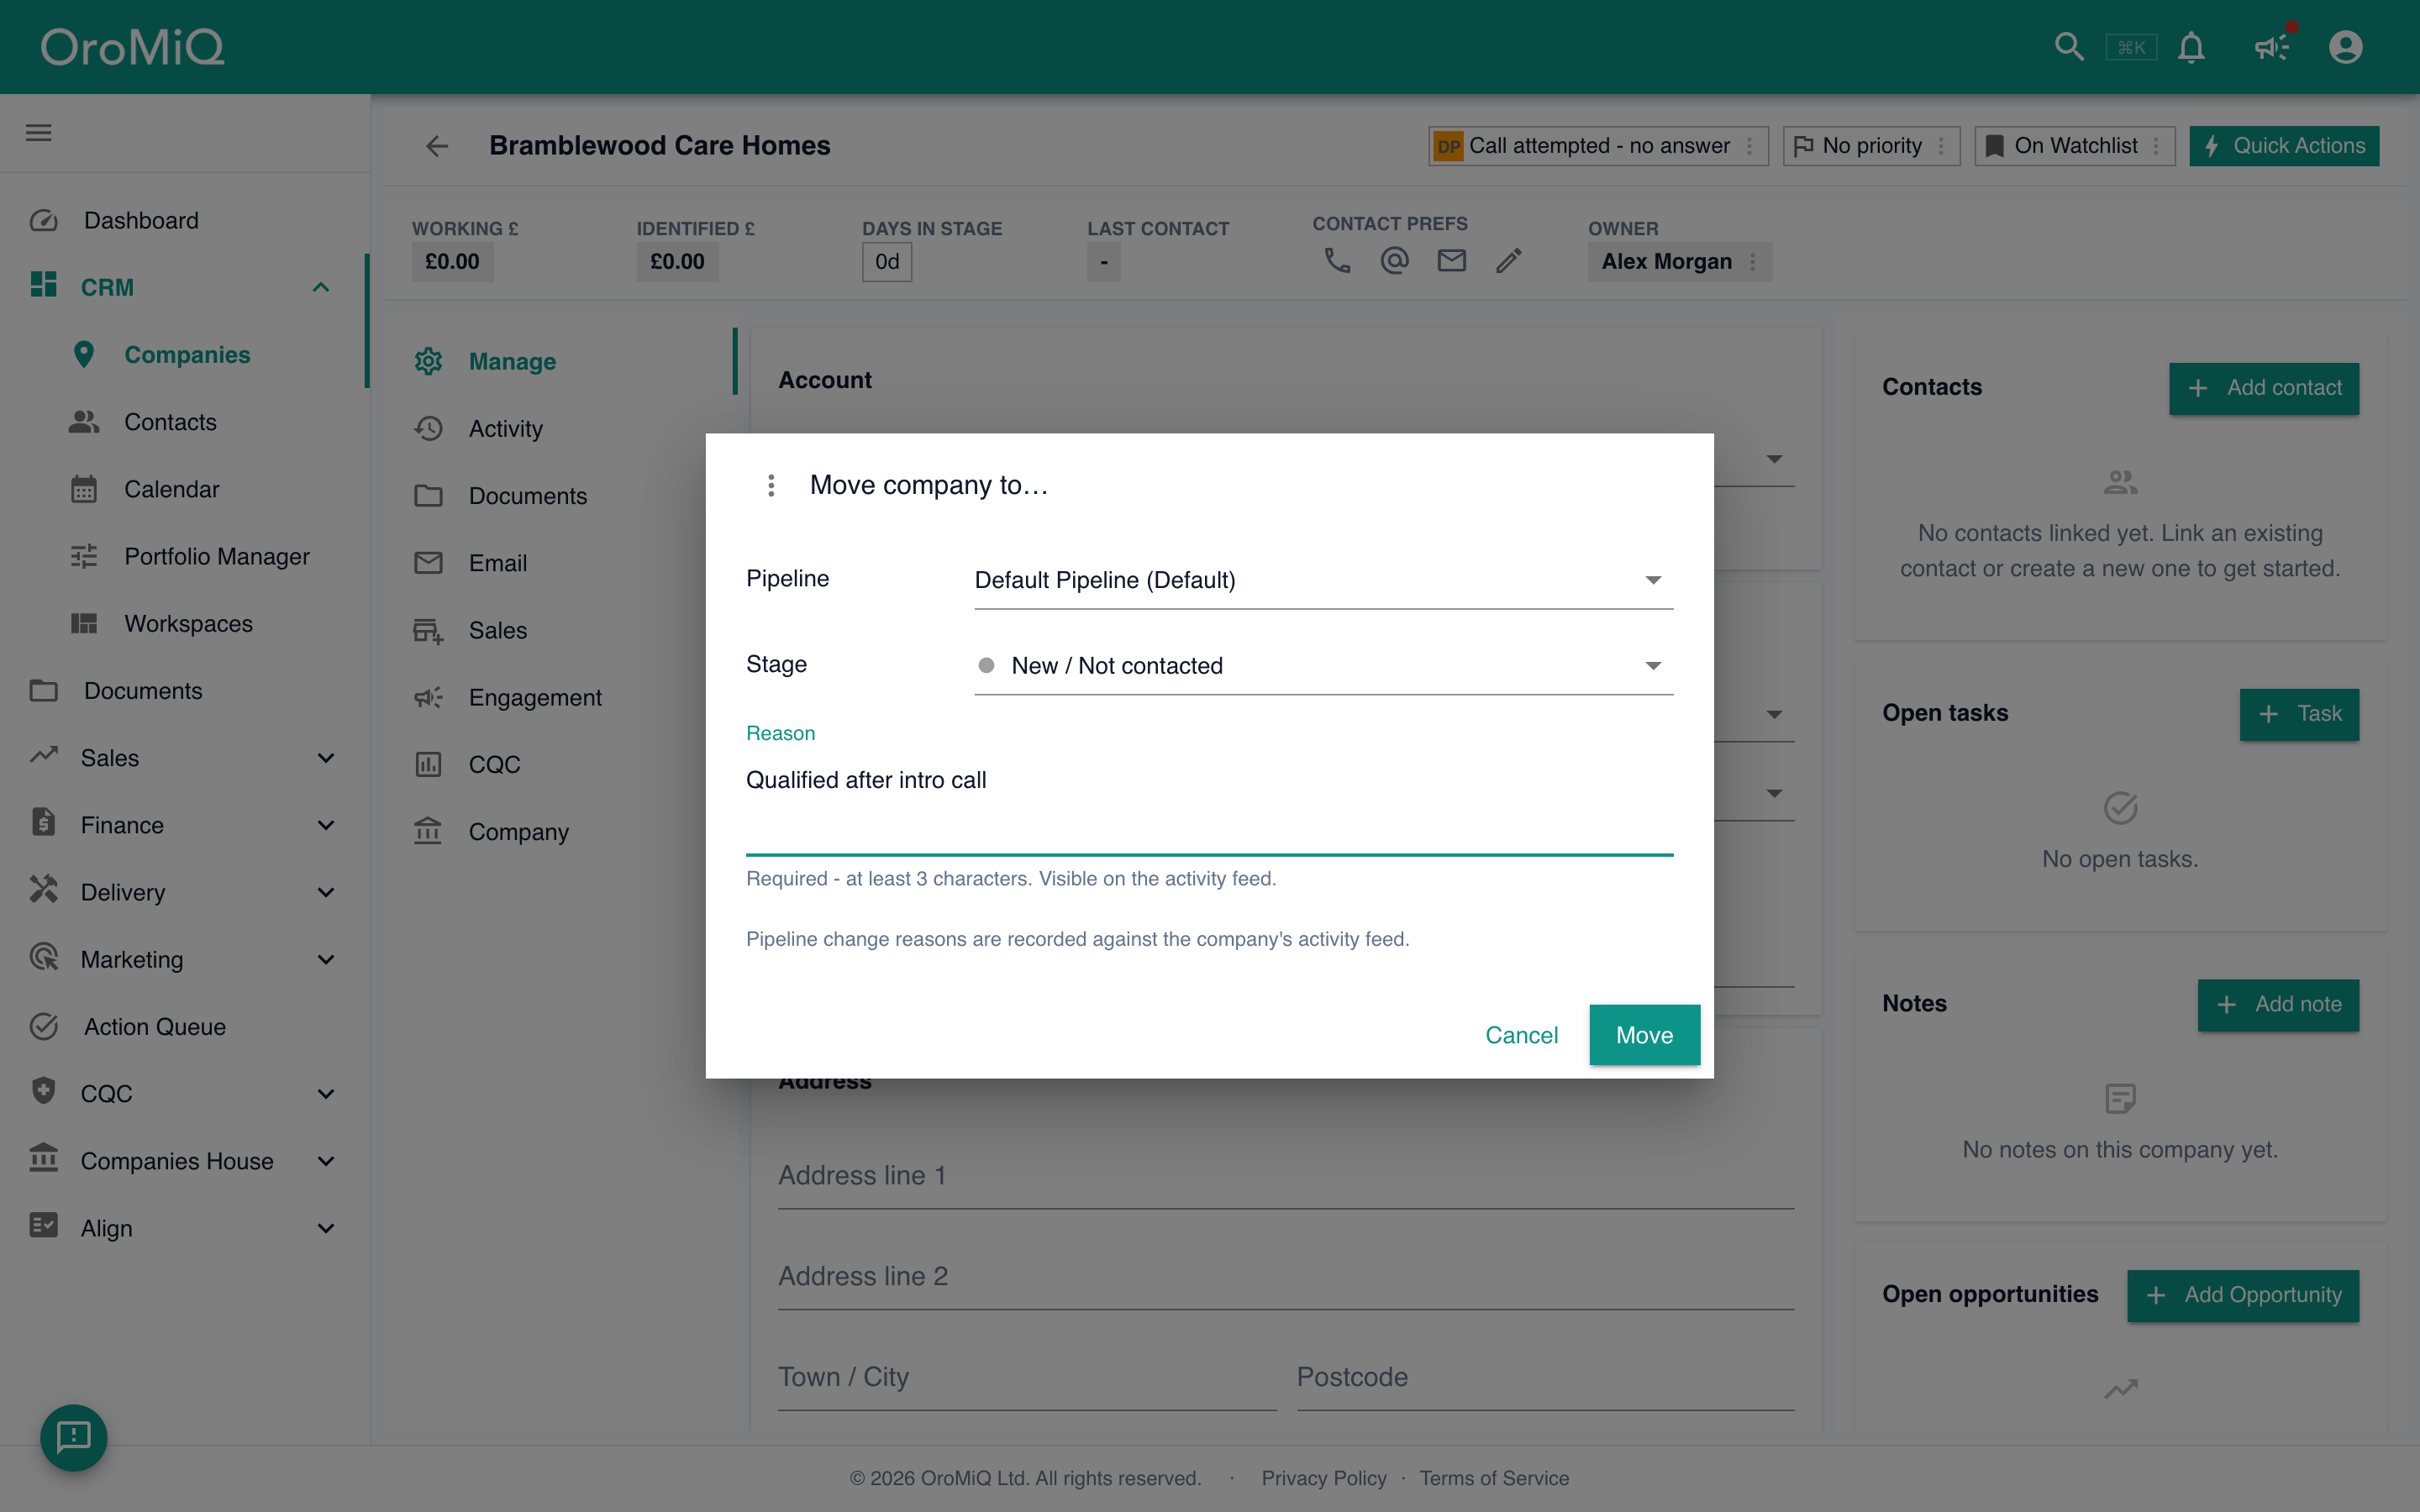
Click the chip’s menu (Pipeline actions), choose Move pipeline / stage, pick a Pipeline and Stage, and add a Reason of at least 3 characters. The reason is logged on the activity feed. Click Move.
Tip
See it on the board and add an opportunity
Back on the Pipeline board, your company now appears as a card in the stage you chose. The stage count updates automatically.
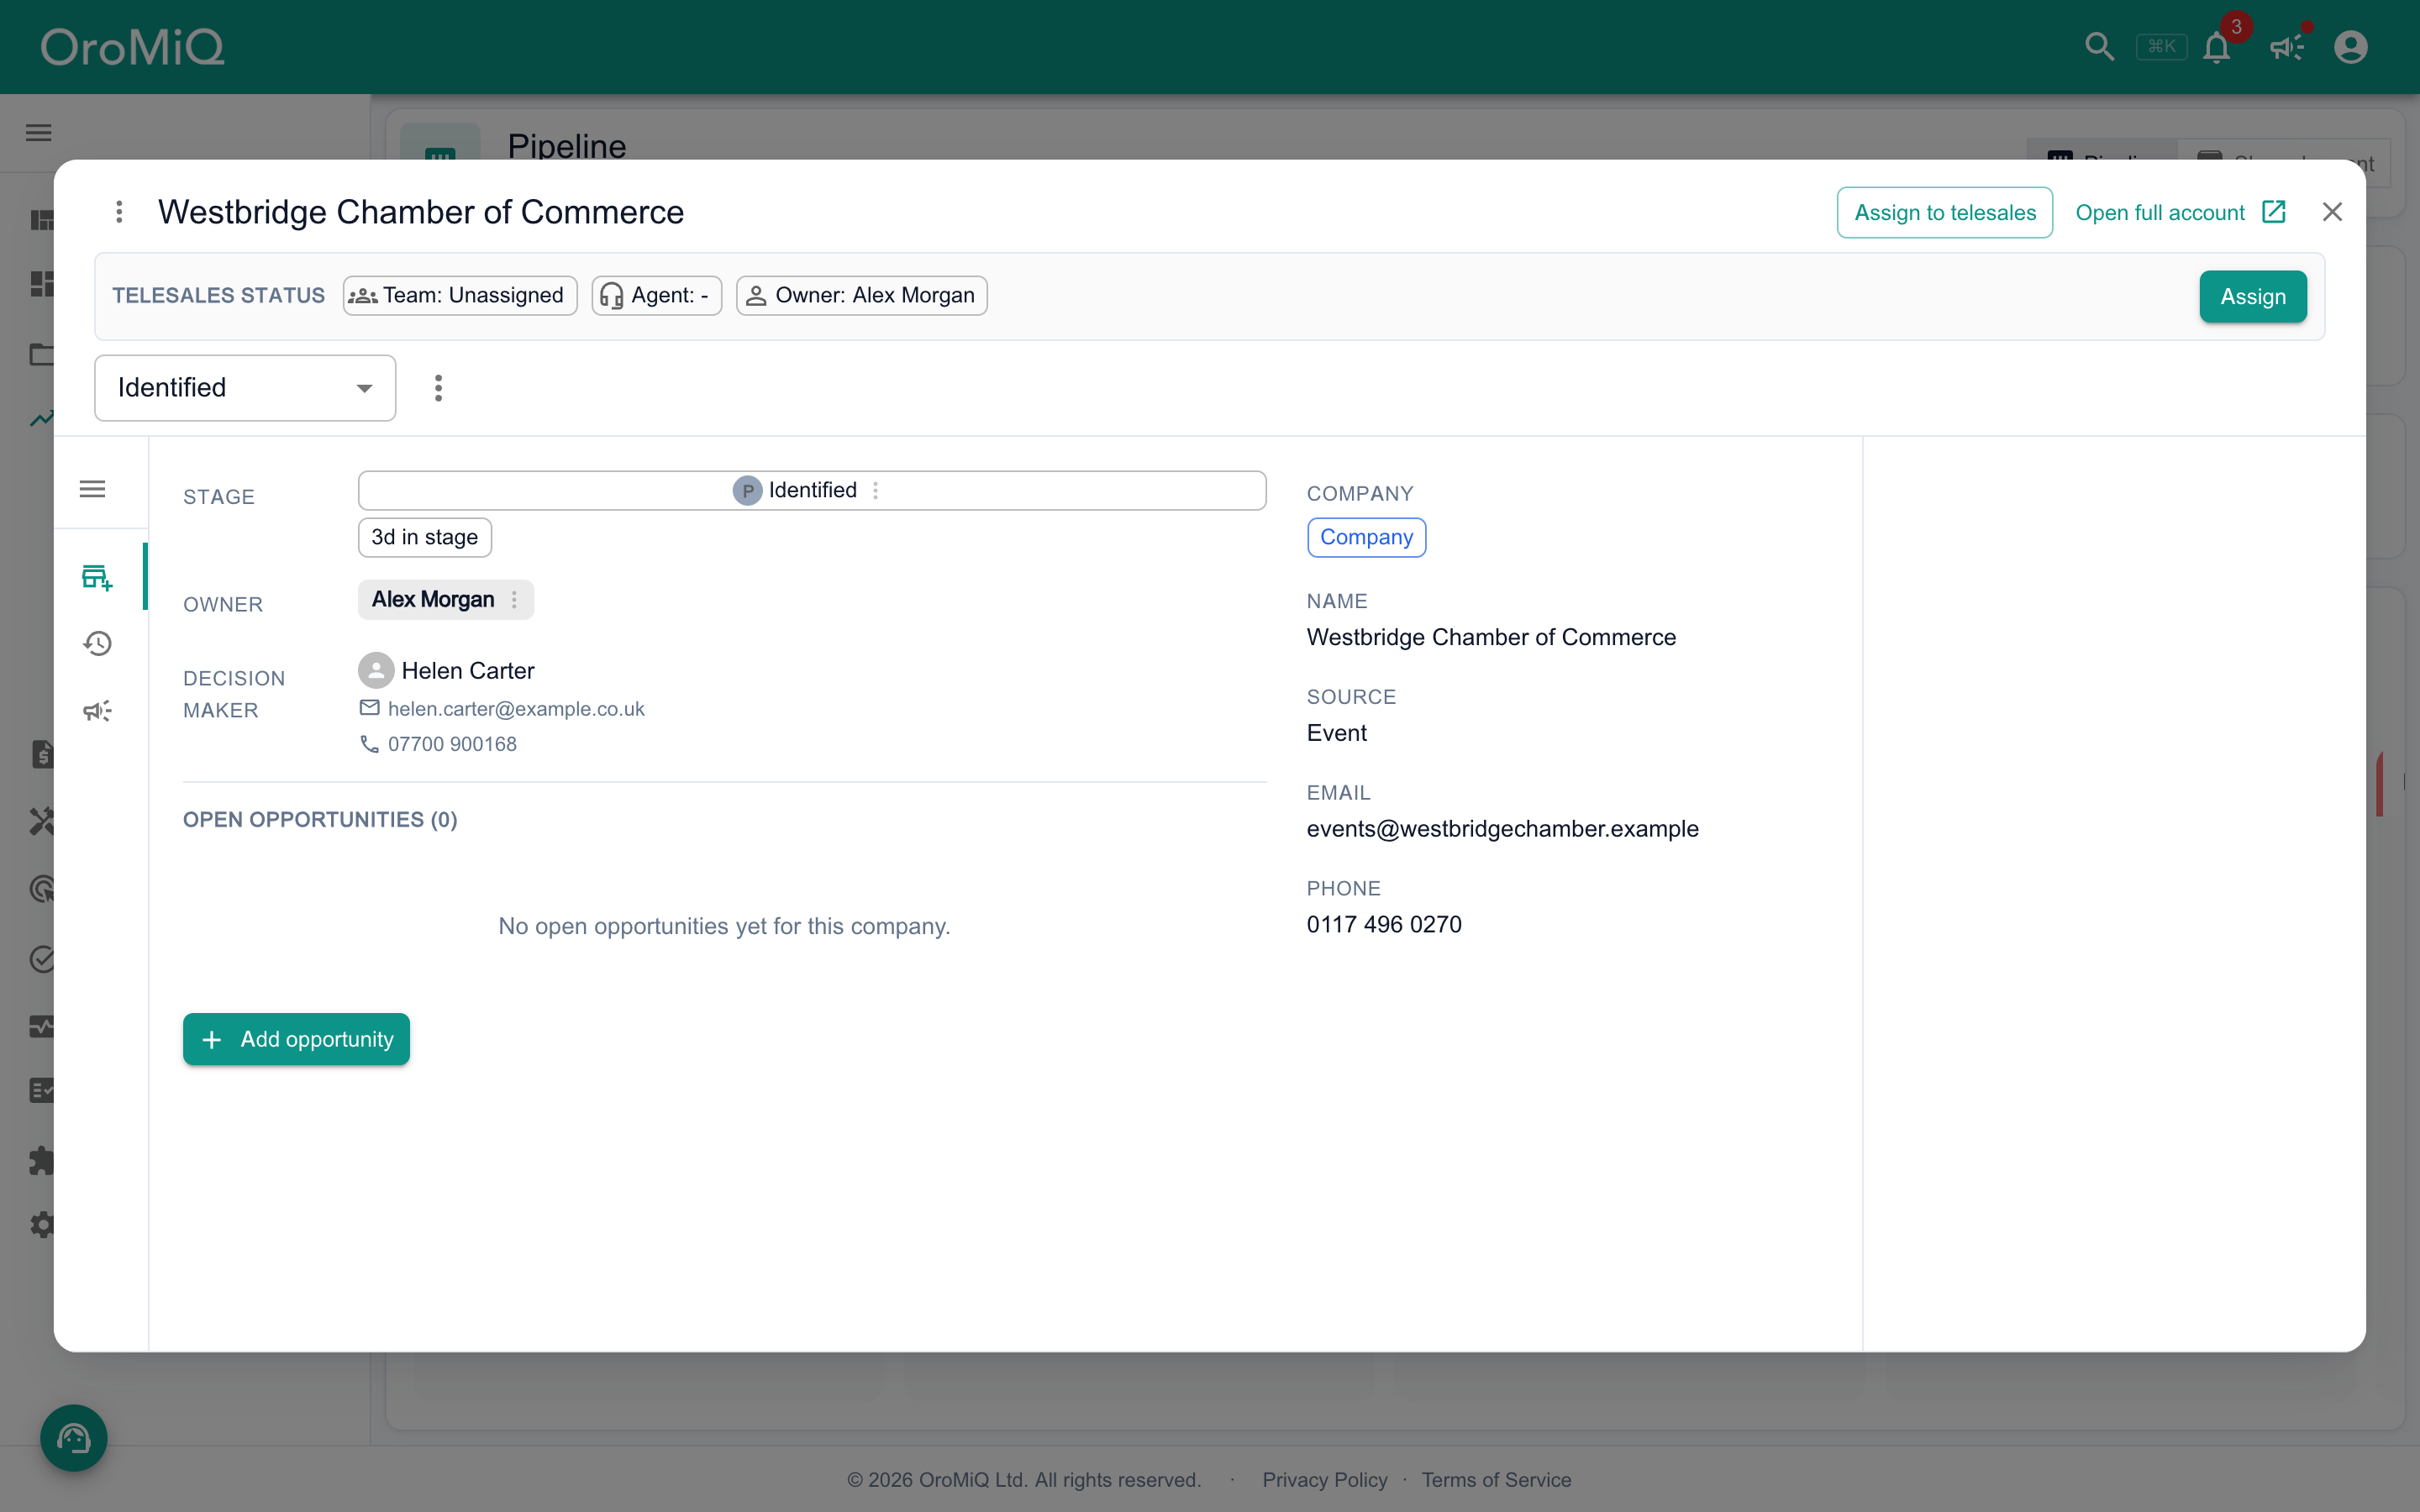
Placing a company on a stage does not create an opportunity, so your Forecast and Won totals stay at zero. To give it a value, click the card and choose Add opportunity in the deal summary.
Move it forward
As a deal progresses, drag its card to the next column. You can also change a company’s stage from its record using the same pipeline chip.
Note

Customise your stages
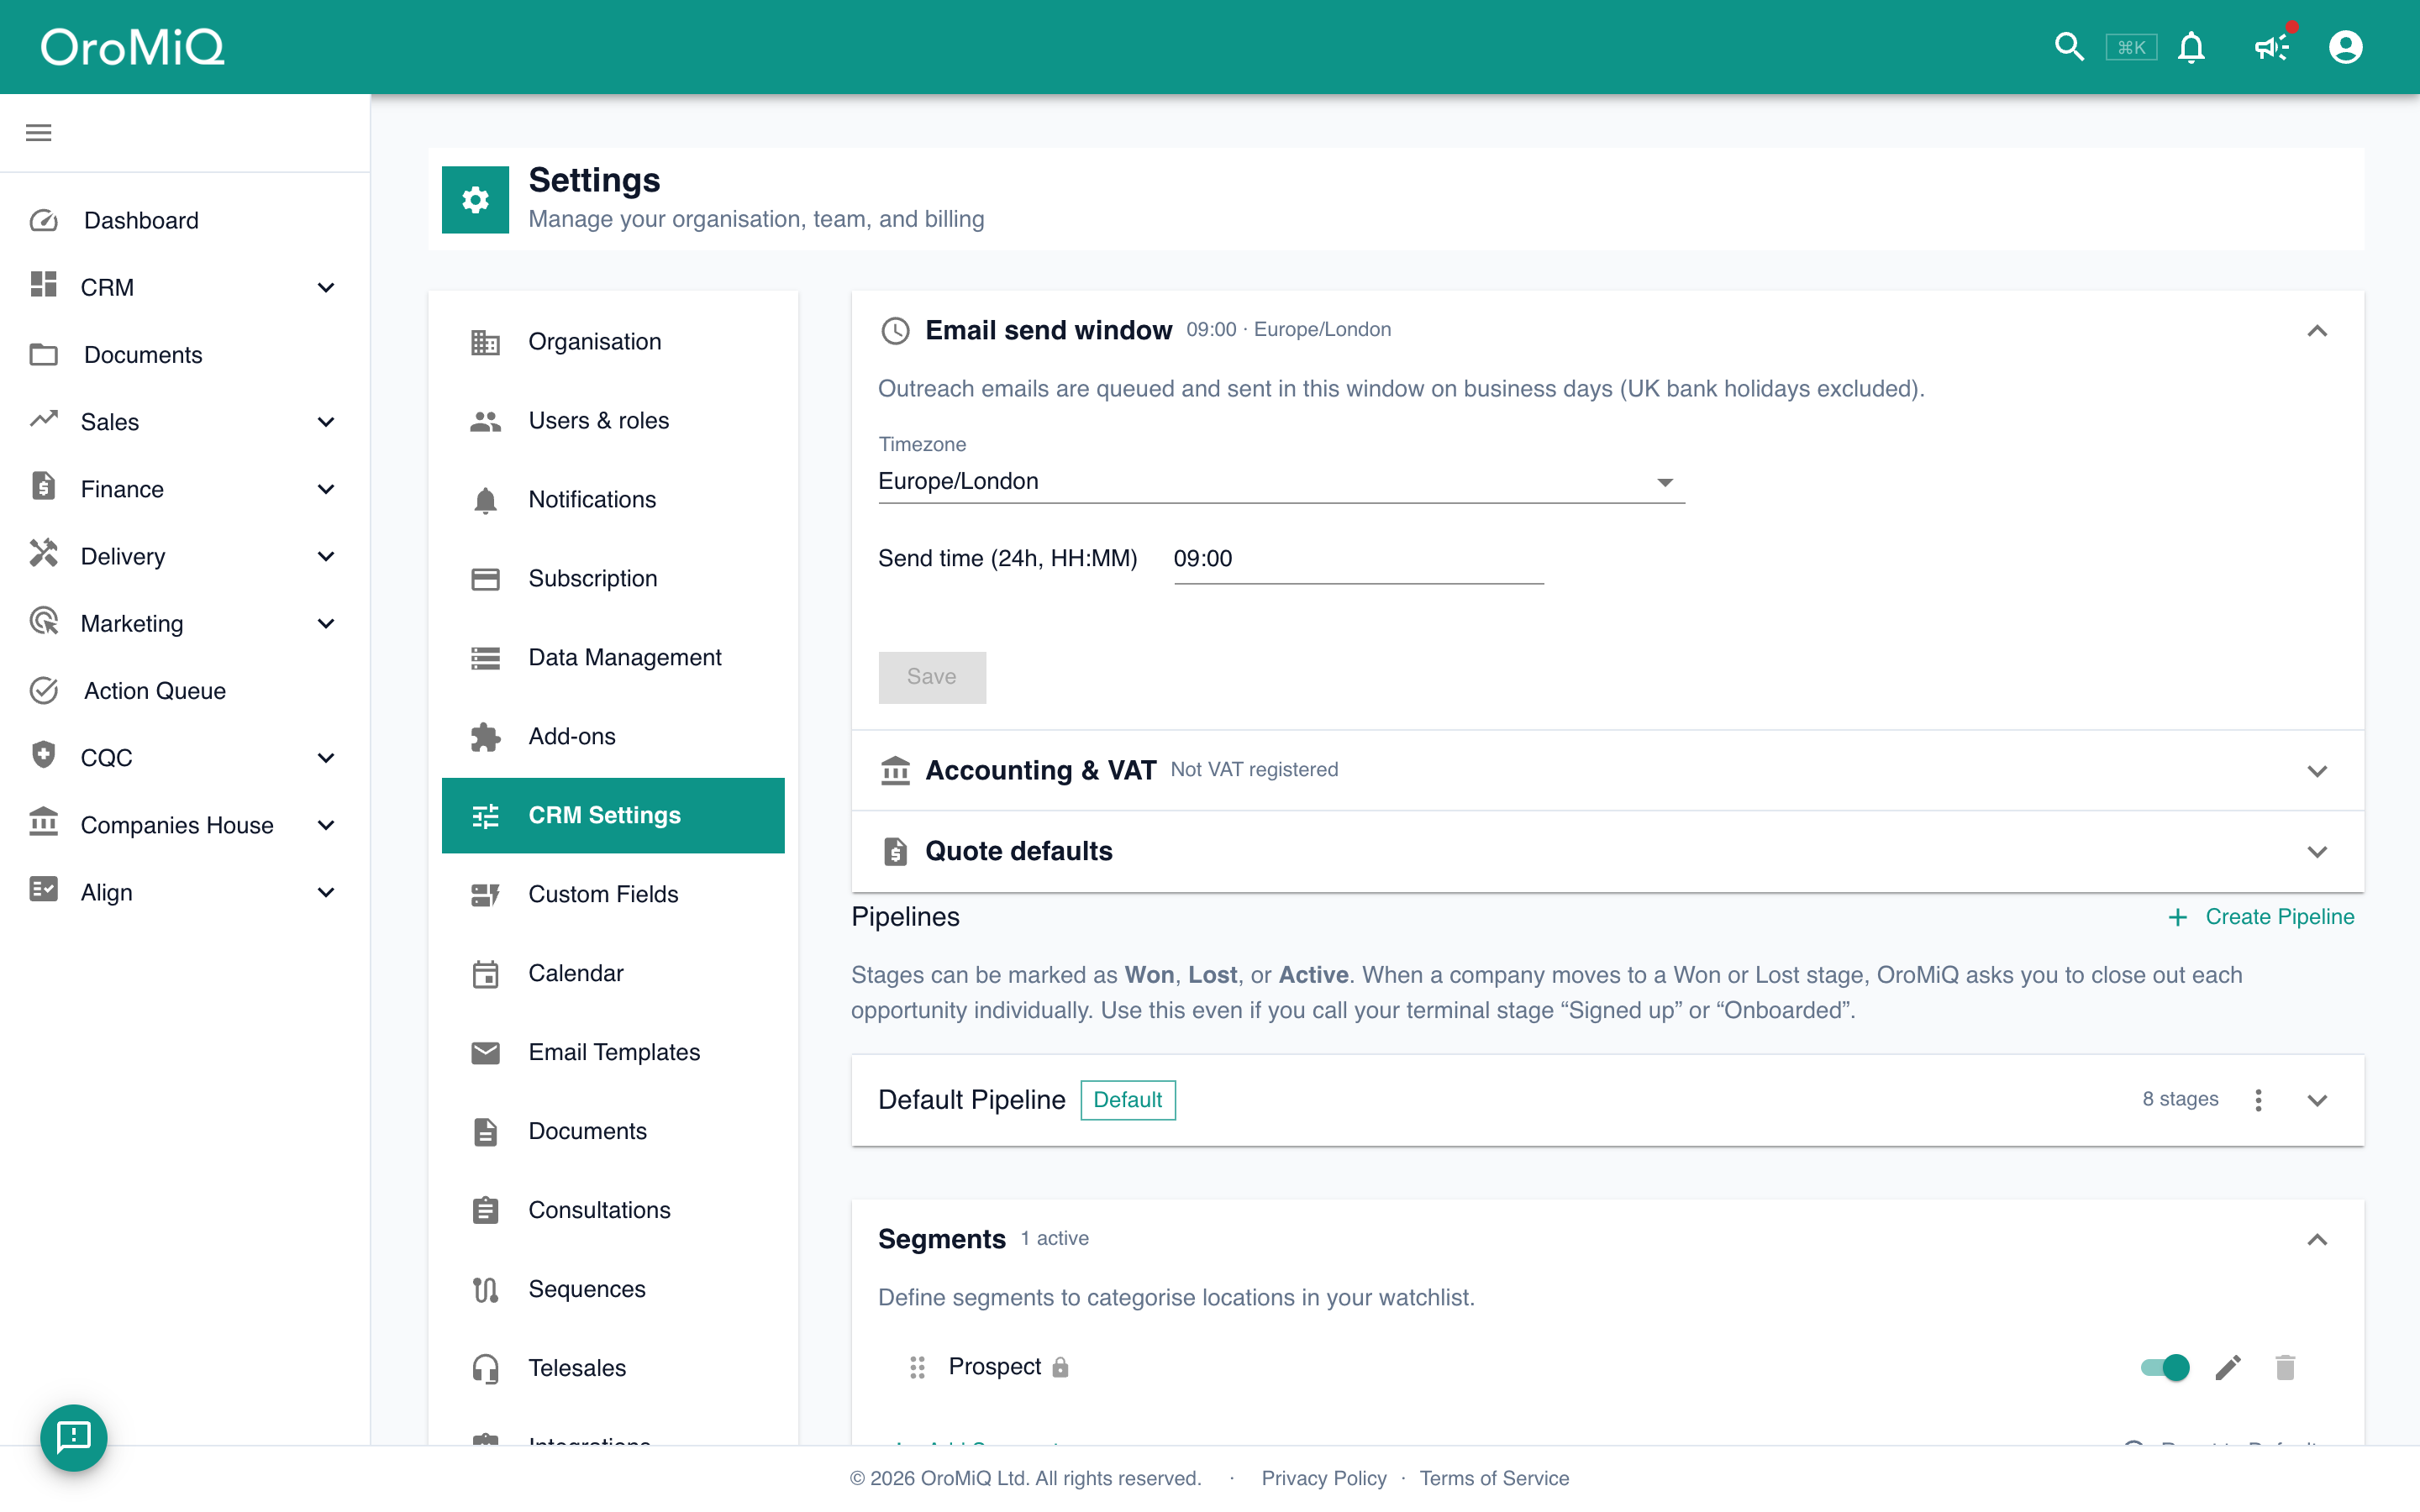
In the sidebar, open Settings then Pipeline & CRM. In the Pipelines section, click Create Pipeline to add a new one, or Add Stage to extend an existing one. Drag stages to reorder them.
Changing pipelines and stages needs the Admin or Manager role. Everyone who works the pipeline can still move companies between stages.
Set each stage’s Stage type to Active, Won or Lost so OroMiQ knows how to treat it.
Tip
What next
Cannot find what you need? Browse the Help Centre or submit a support ticket.