Documents & secure rooms
Organise documents and share a secure room
Before you start
A few things need to be in place first:
- for rooms, a Secure Rooms add-on. Tiers allow 5, 15, 30, 75 or unlimited active rooms. Without one, Rooms shows a padlock. An Admin can add it from Settings → Subscription & billing (see pricing). Documents needs no add-on,
- a role that can manage the pipeline to create rooms, such as the built-in Admin, Manager or Power User roles, and
- the company or person you are sharing with, already added in OroMiQ.
Organise your files in Documents
In the sidebar, open Documents. The File Explorer tab lists your folders and files. Open a folder to see what is in it, or click the folder icon beside Home to show the folder list. Click New to choose Upload files, Upload folder or New folder.
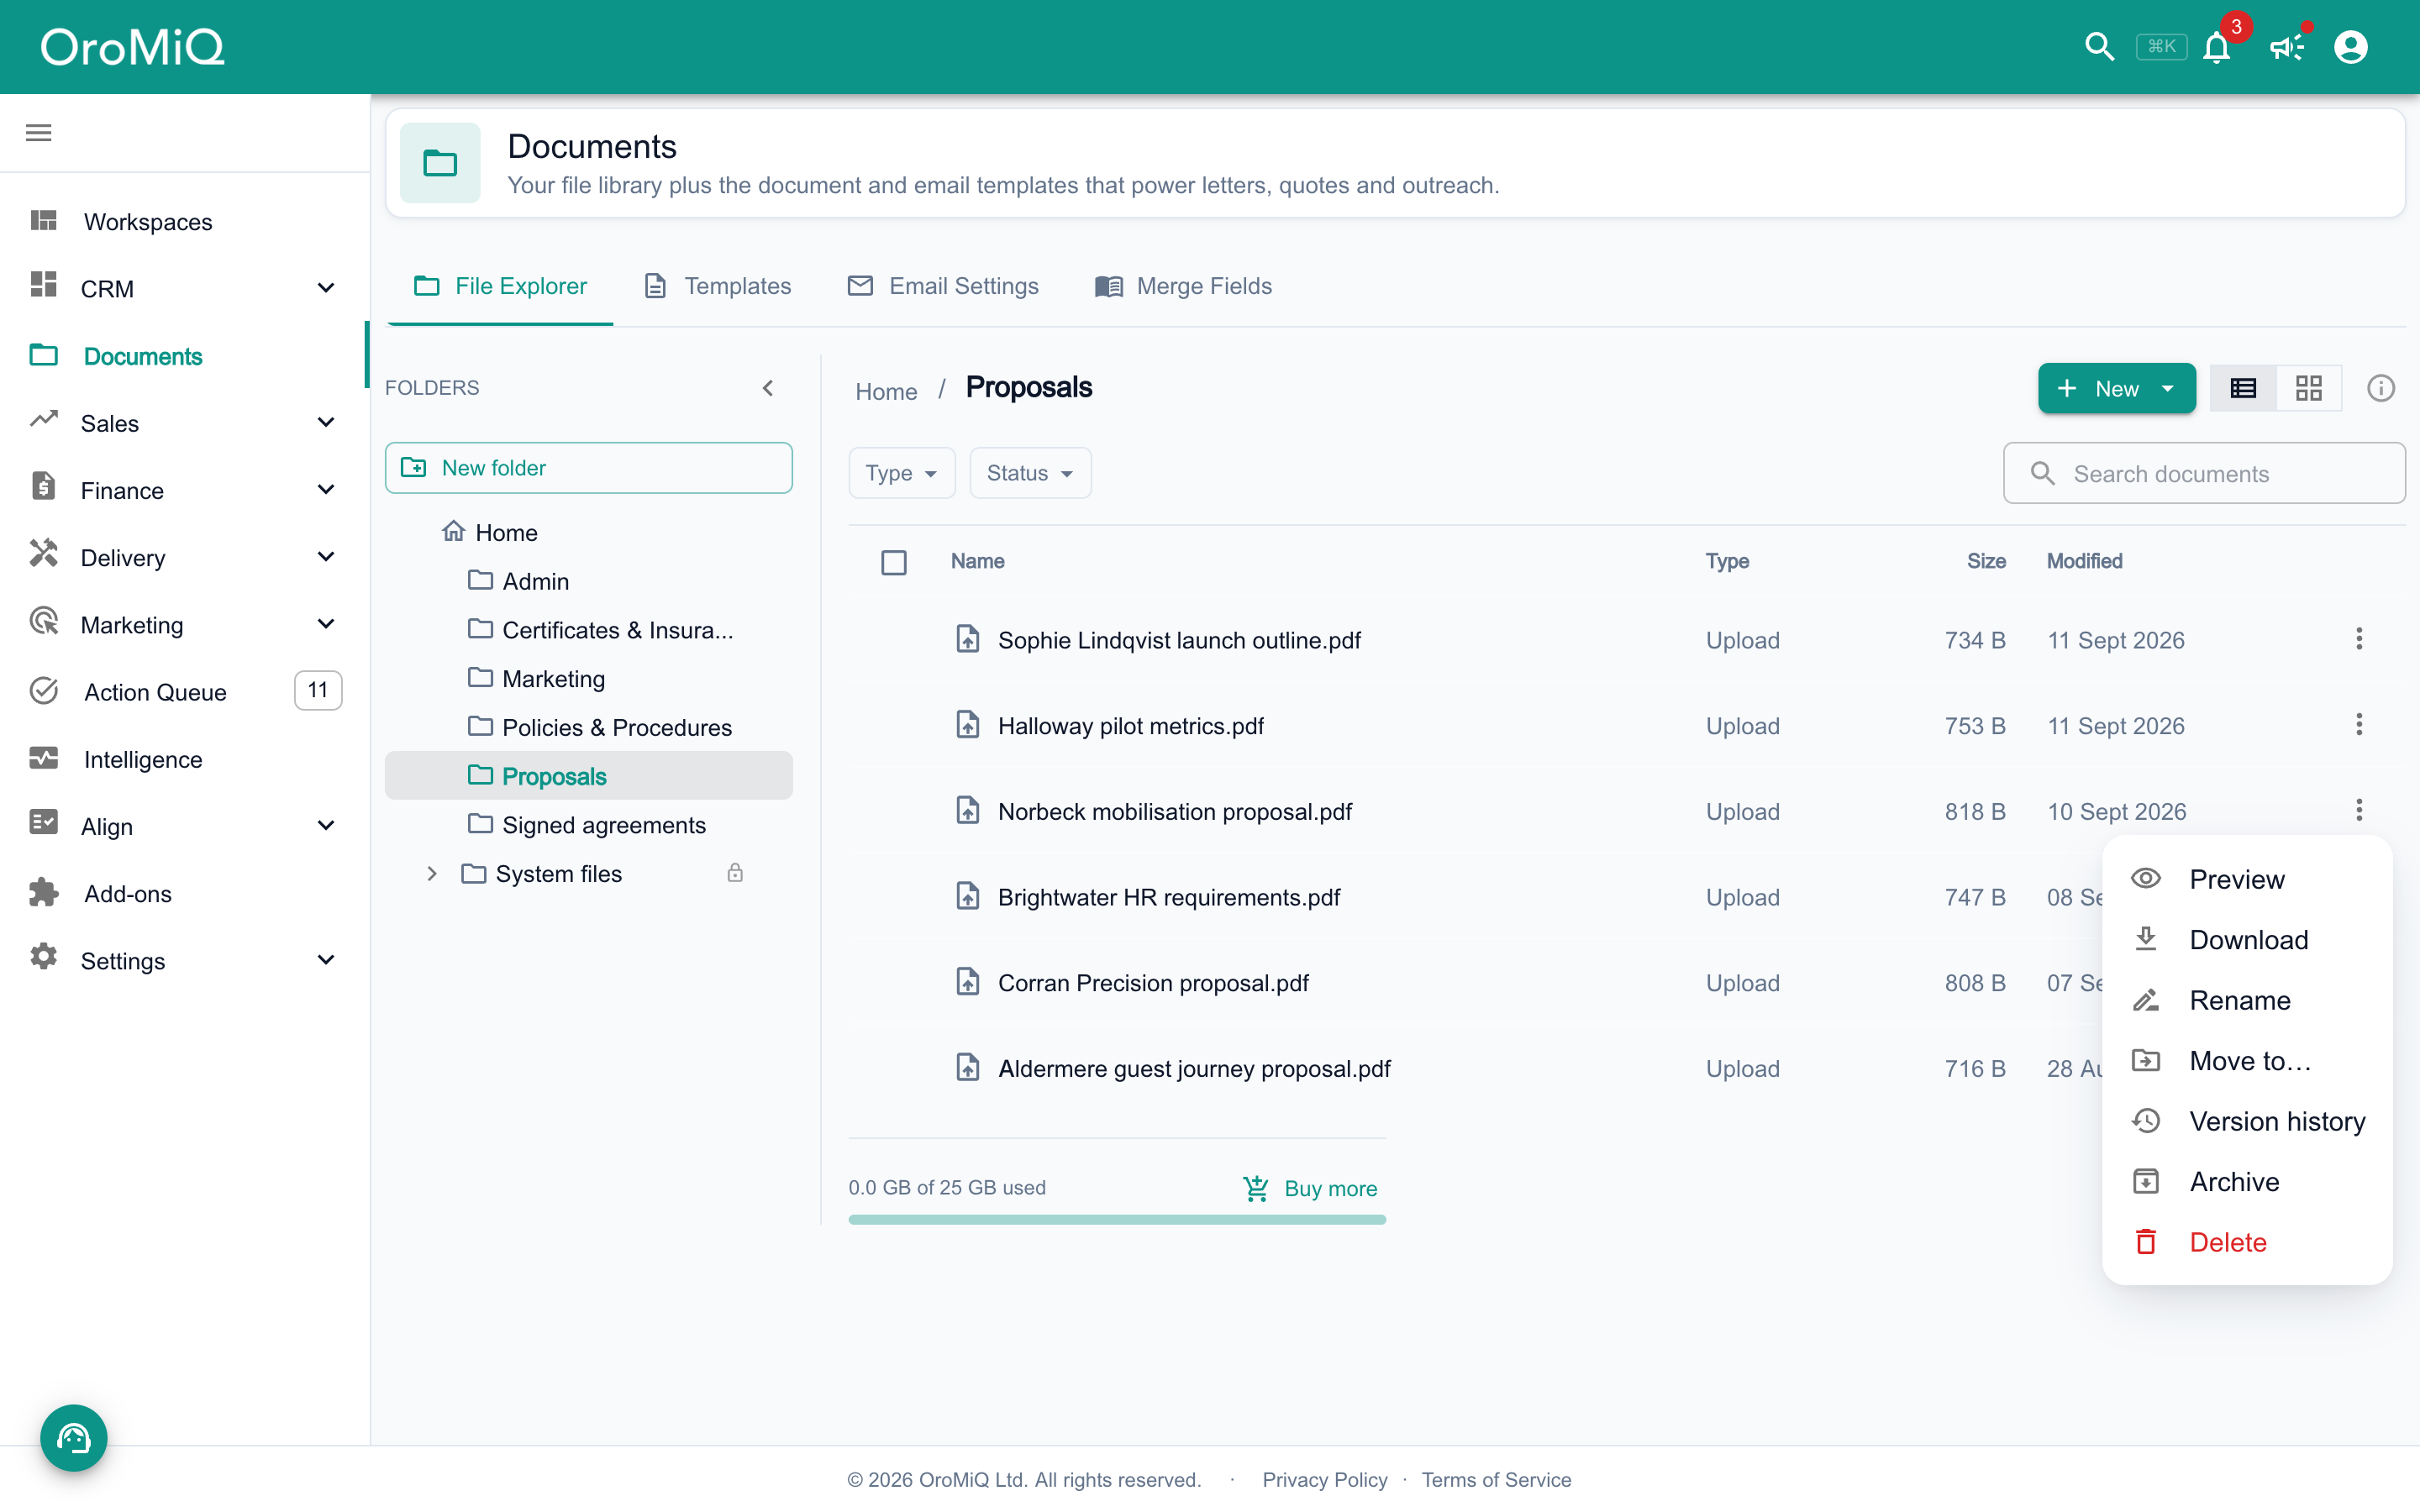
Open a file’s menu to Preview, Download, Rename or move it.
Files OroMiQ creates for you, such as quotes, invoices and signed contracts, are filed in the locked System files folder and cannot be moved out of it.
Bring back an earlier version
Uploading a file with the same name offers Replace or Skip. Replacing keeps the old file as an earlier version.
Open the file’s menu and click Version historyto download an earlier version or restore it. Restoring keeps today’s file as a version too.
Tip
Restore a deleted file from the bin
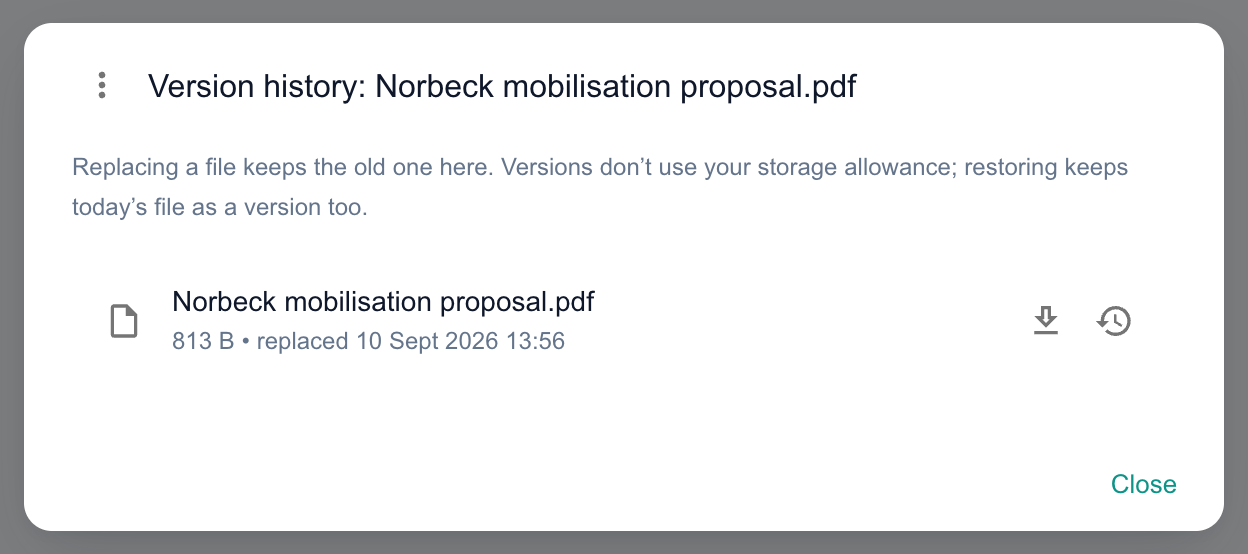
Deleted files go to the bin. Set Status to Bin to see them, then click Restore to put a file back where it was, or Delete forever to remove it for good.
Note
Create a secure room
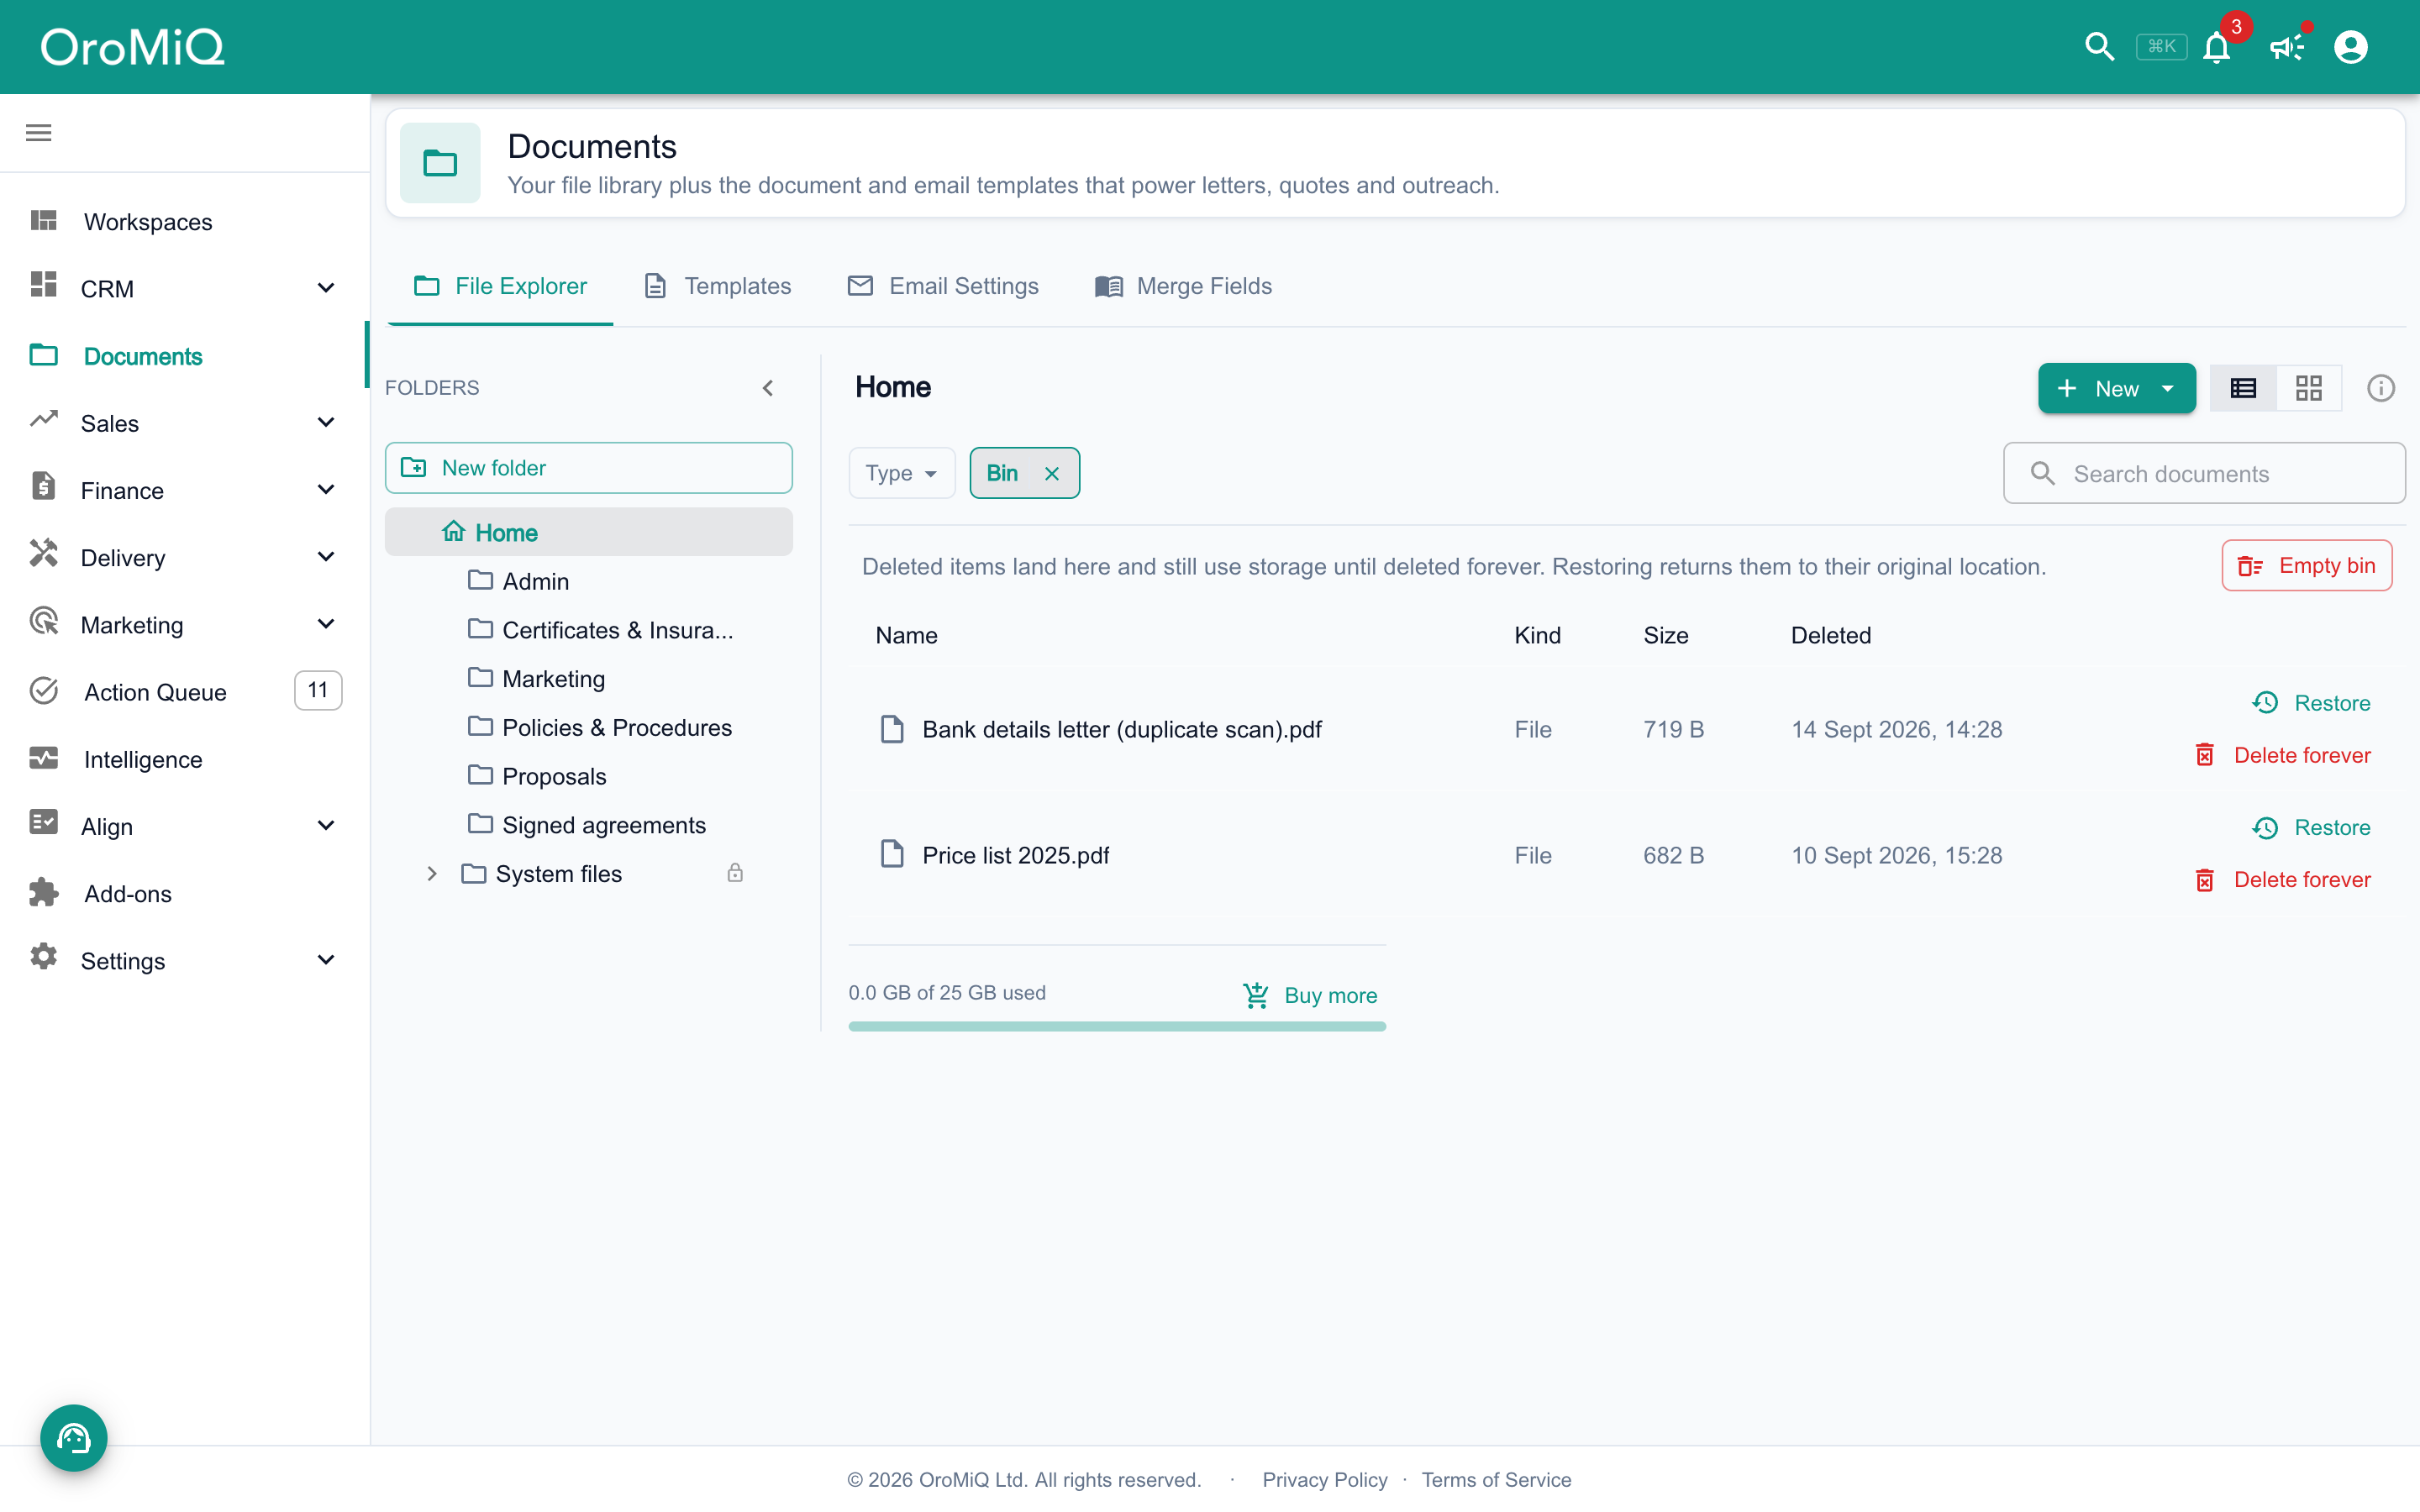
Open Delivery then Rooms, and click New room. Choose Company or Person and search for who the room is for, then give it a Name.
Under Access policy, choose whether to Require a one-time email code before the room opens and whether to Allow guests to download documents. You can also set a Link expiry (days) and a Room password. Click Create room.
Tip
Share documents into the room
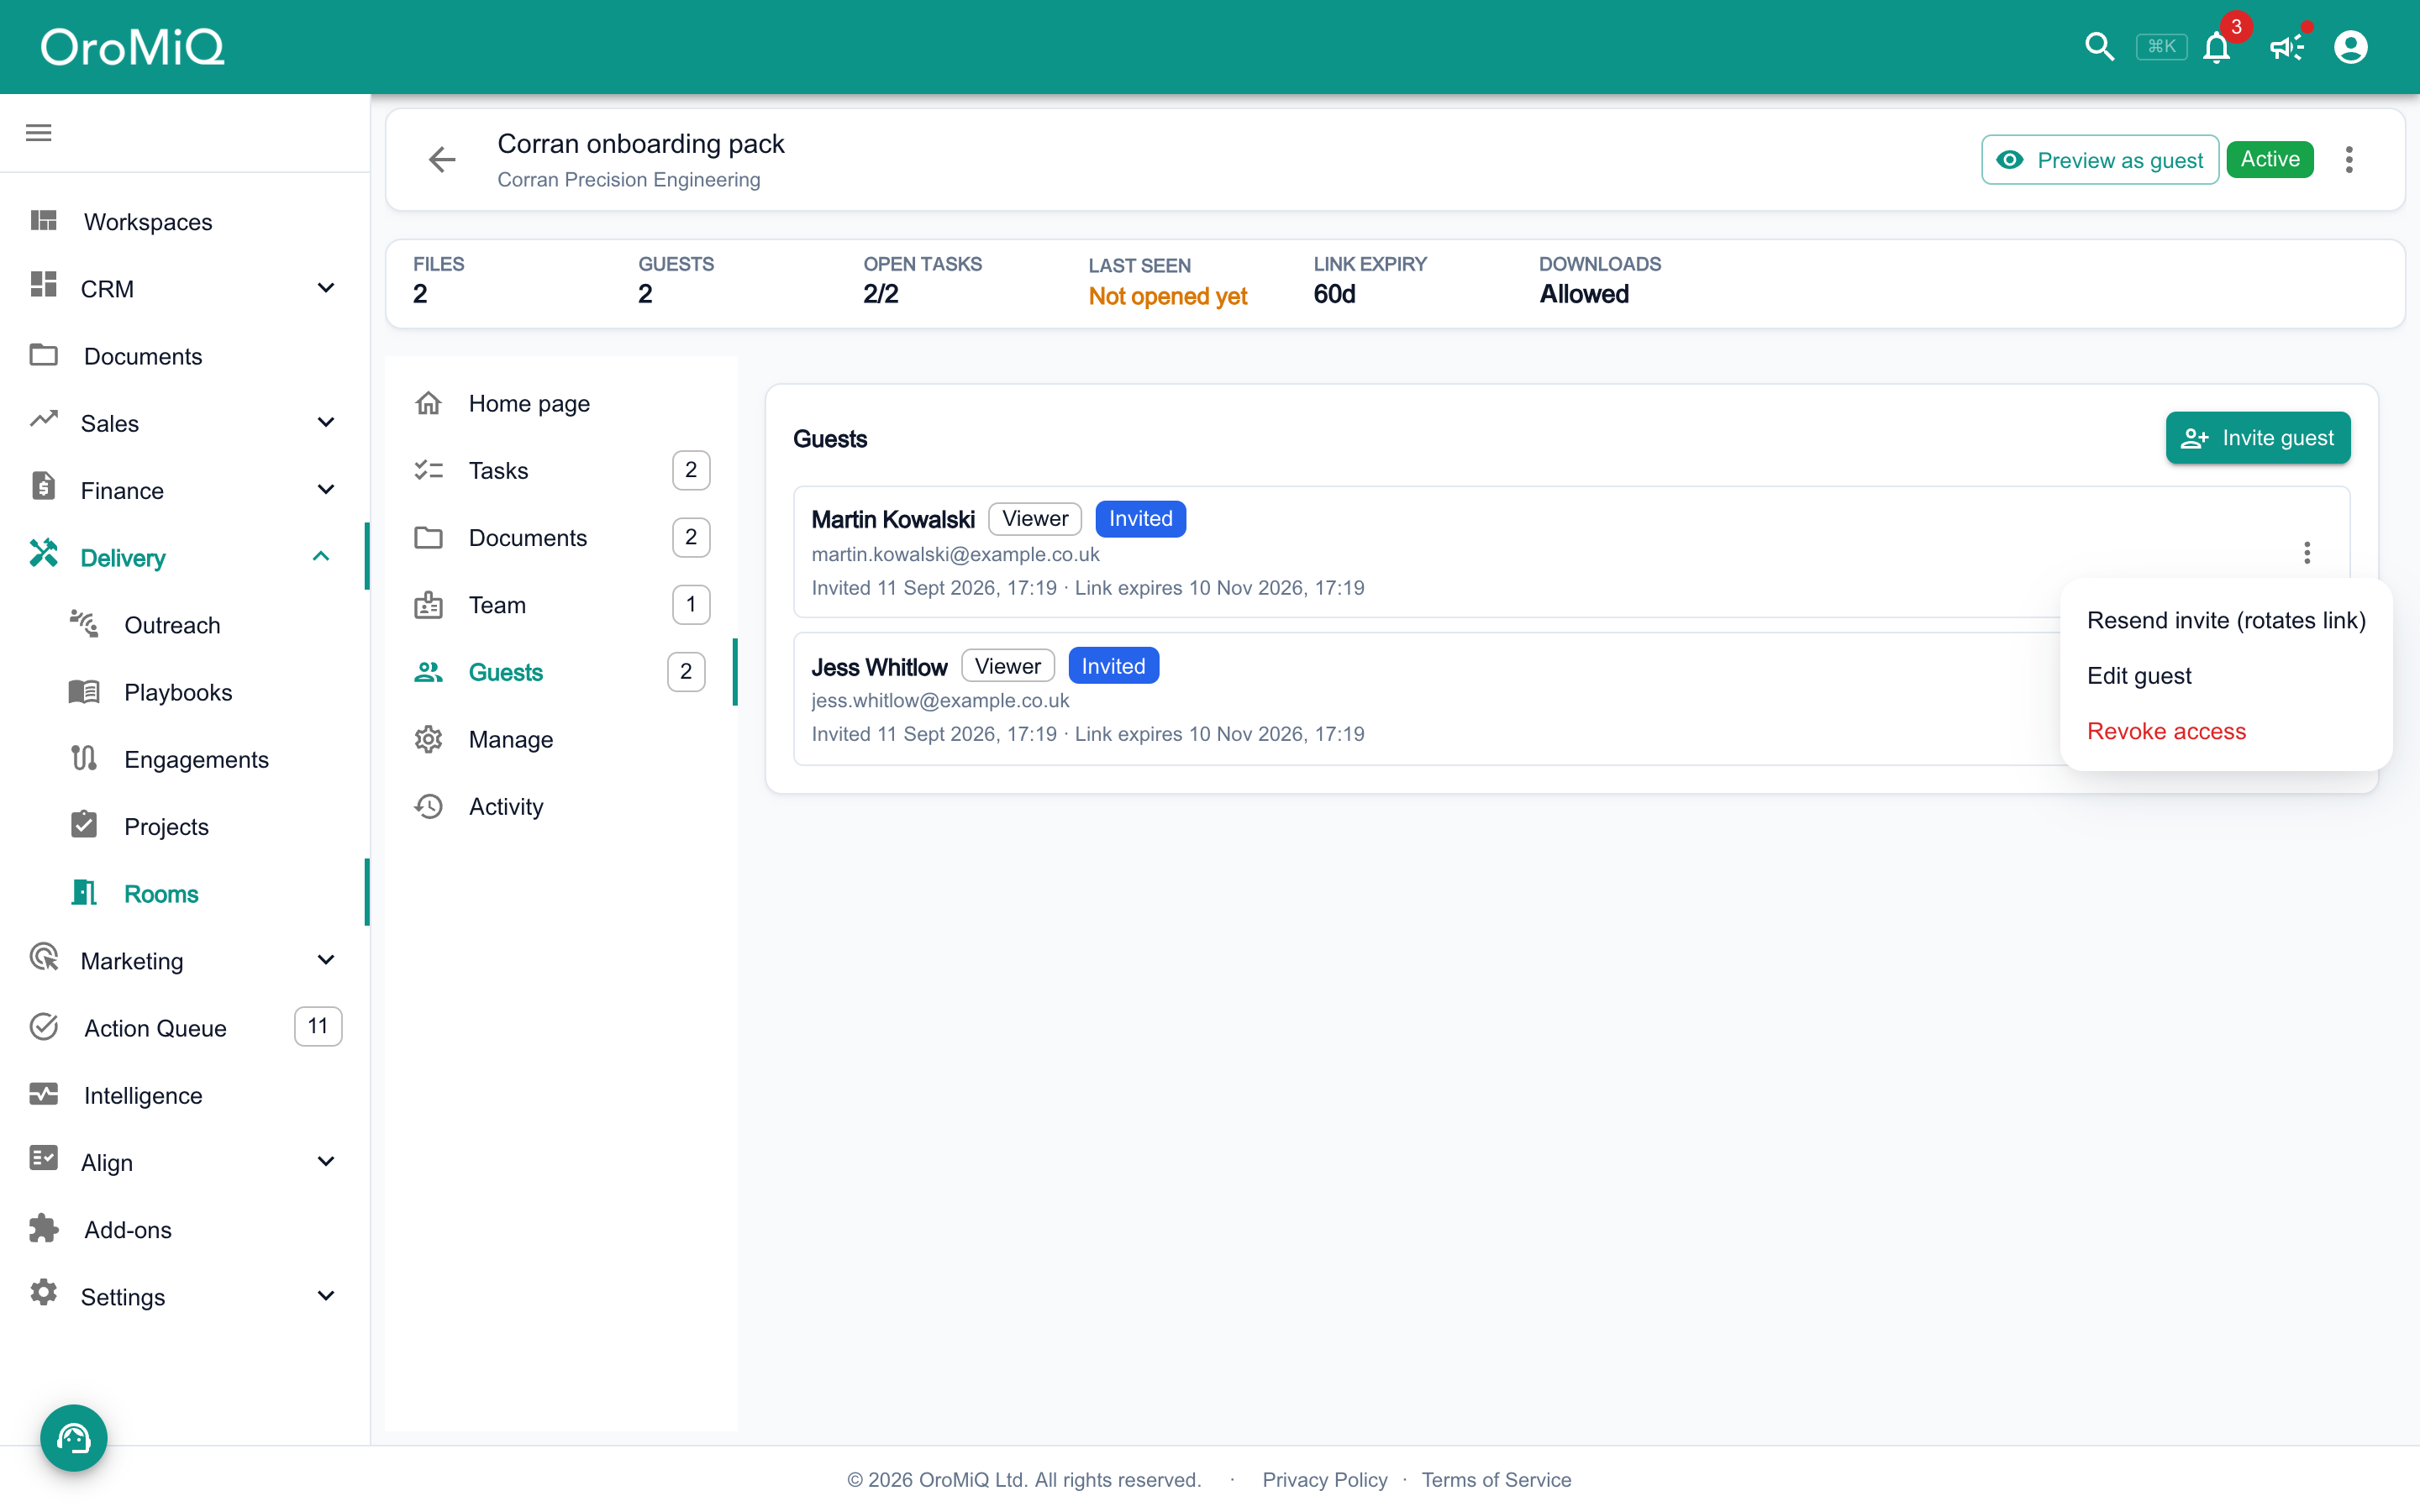
In the room, open Documents and click Share from your files. Search for a file you already hold, or click Uploadto add a new one. Everything shared appears in the room’s list.
Warning
Invite guests
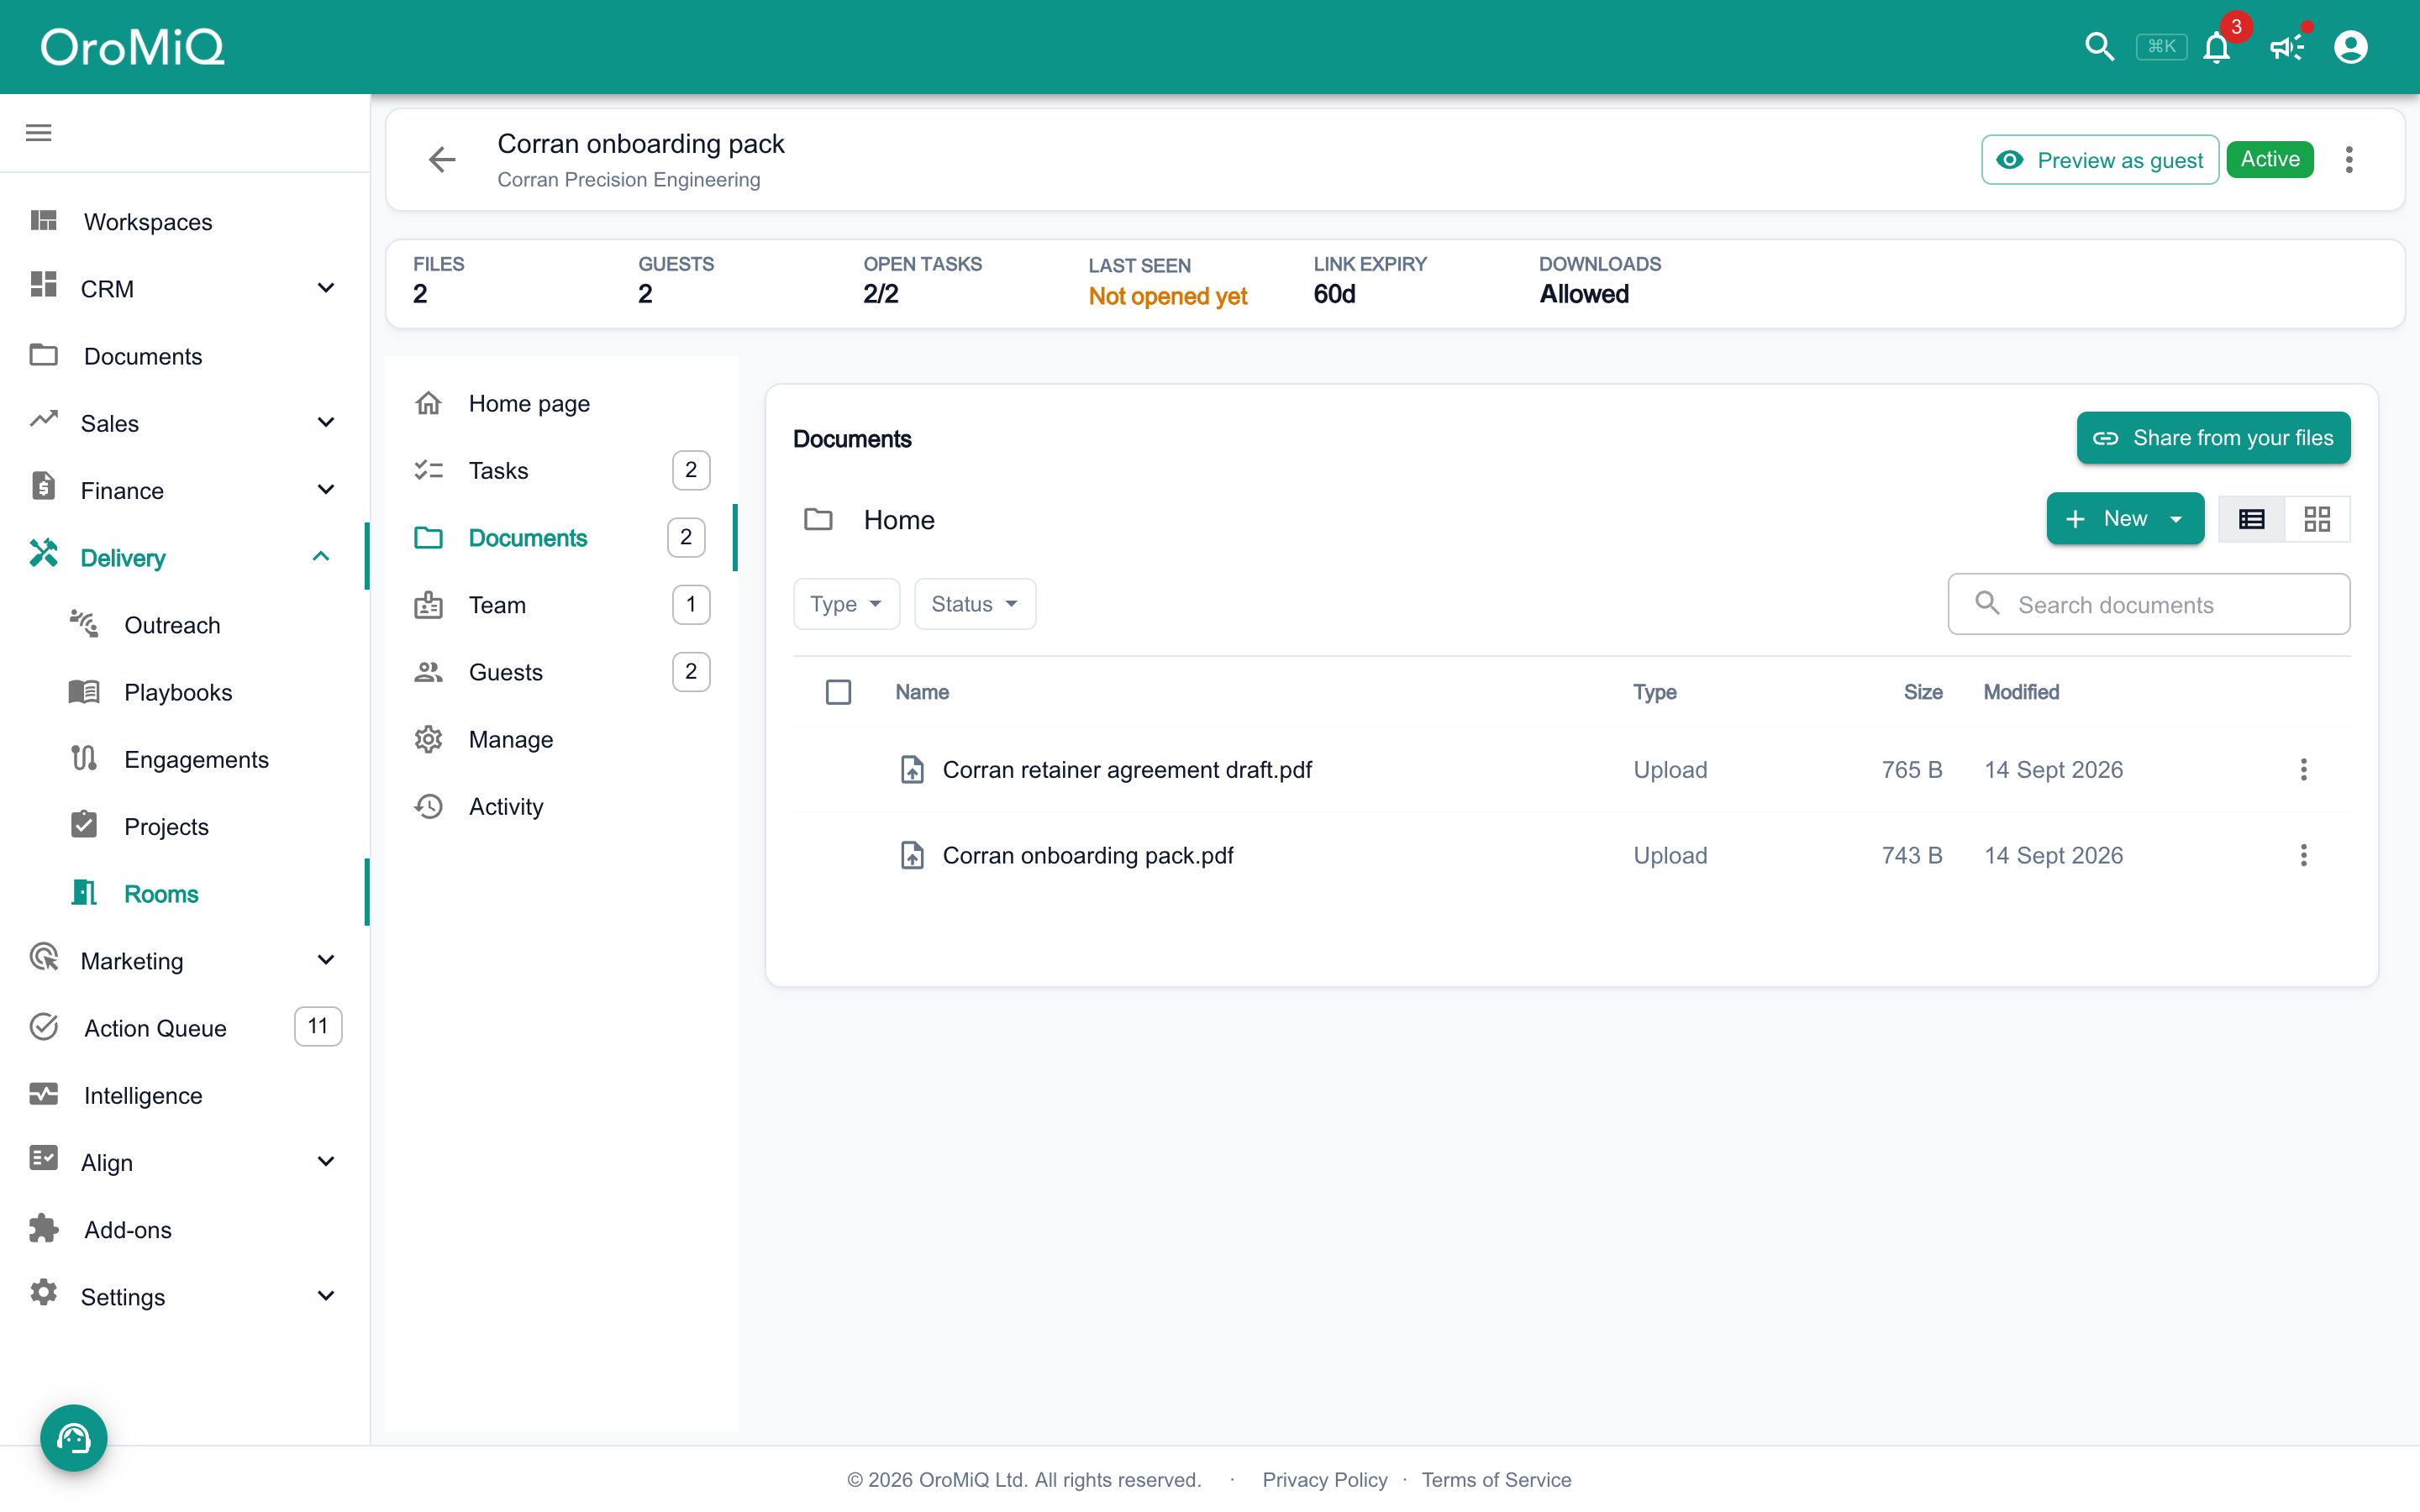
Open Guests and click Invite guest. Pick a contact or enter a Name and Email, then choose a Role. A Viewer can see what you share. A Contributor can also send documents to you.
One-time code and Downloads follow the room policy unless you change them for this guest. Click Send invite.
Your guest gets an email with their own link, and needs no account. If the room asks for a code, they click Email me the code and enter the 6-digit code, then Open the room.
Tip
Ask for files with a file request
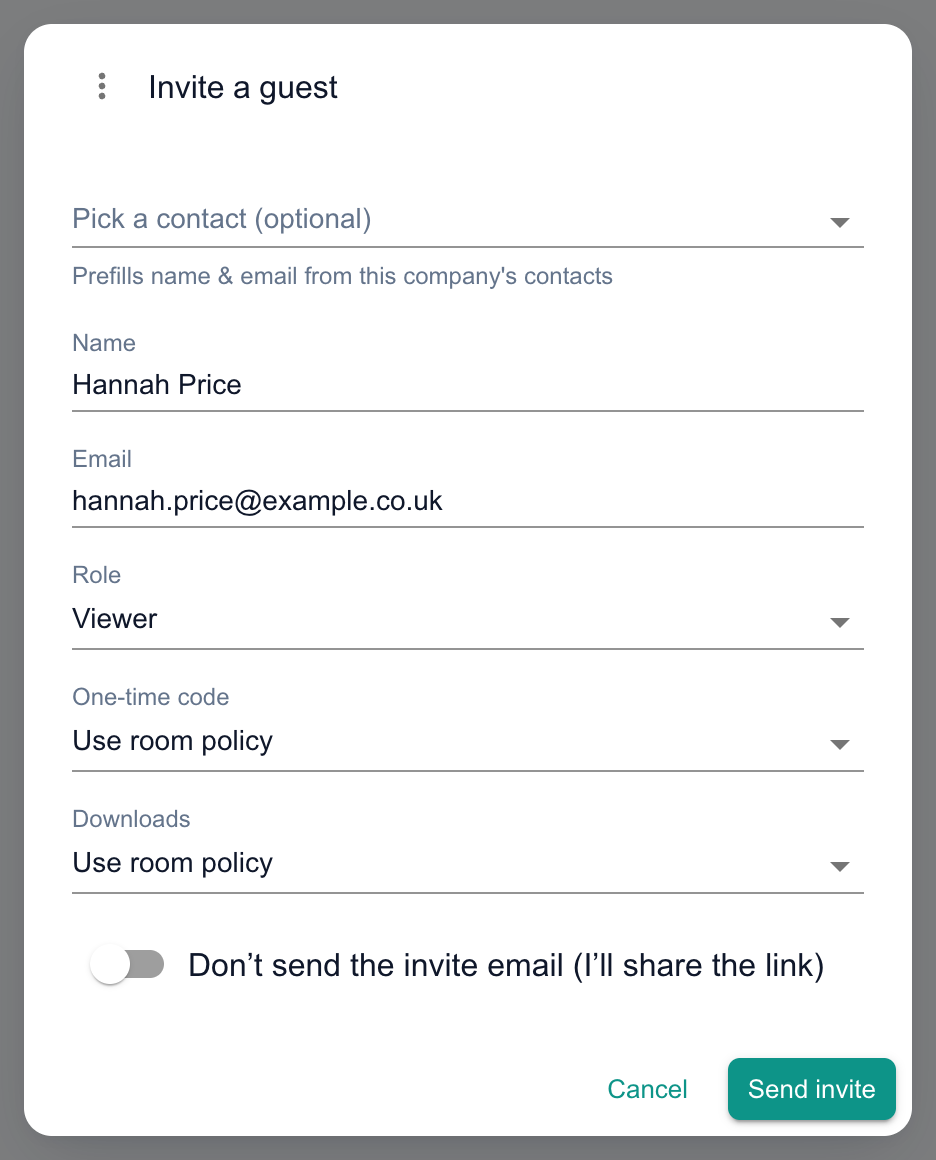
Open Tasks and click New task. Choose File request, give it a Title and Instructions, and pick an Assignee and Due date.
Choose a Destination folder for the uploads, then click Create task. Your guest sees the request in the room and uploads their files against it.
Manage access and check activity
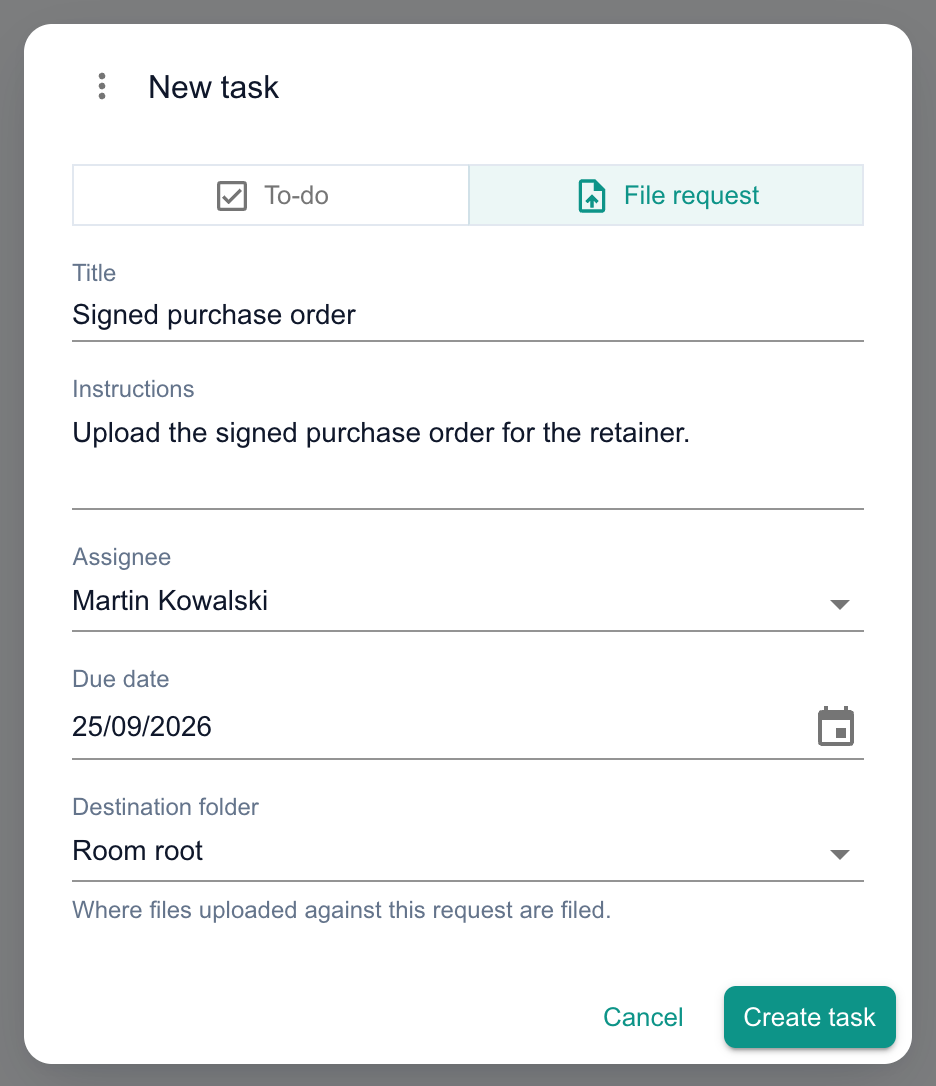
On Guests, use a guest’s menu to Edit guest, Resend invite (rotates link) or Revoke access. Revoking stops their link working straight away.
Activity logs every open, view, download and upload. Click Export .xlsx for a copy.
Note
What next
Cannot find what you need? Browse the Help Centre or submit a support ticket.